Label Attributes
In computer vision, adding extra data to annotations is becoming more and more common. To support that, we have developed a feature we call label attributes. This feature allows you to add extra data to any annotation while you are in our annotation environment.
Label attributes are directly linked to label classes, meaning that you have to assign attributes to every class.
Creating a label attribute
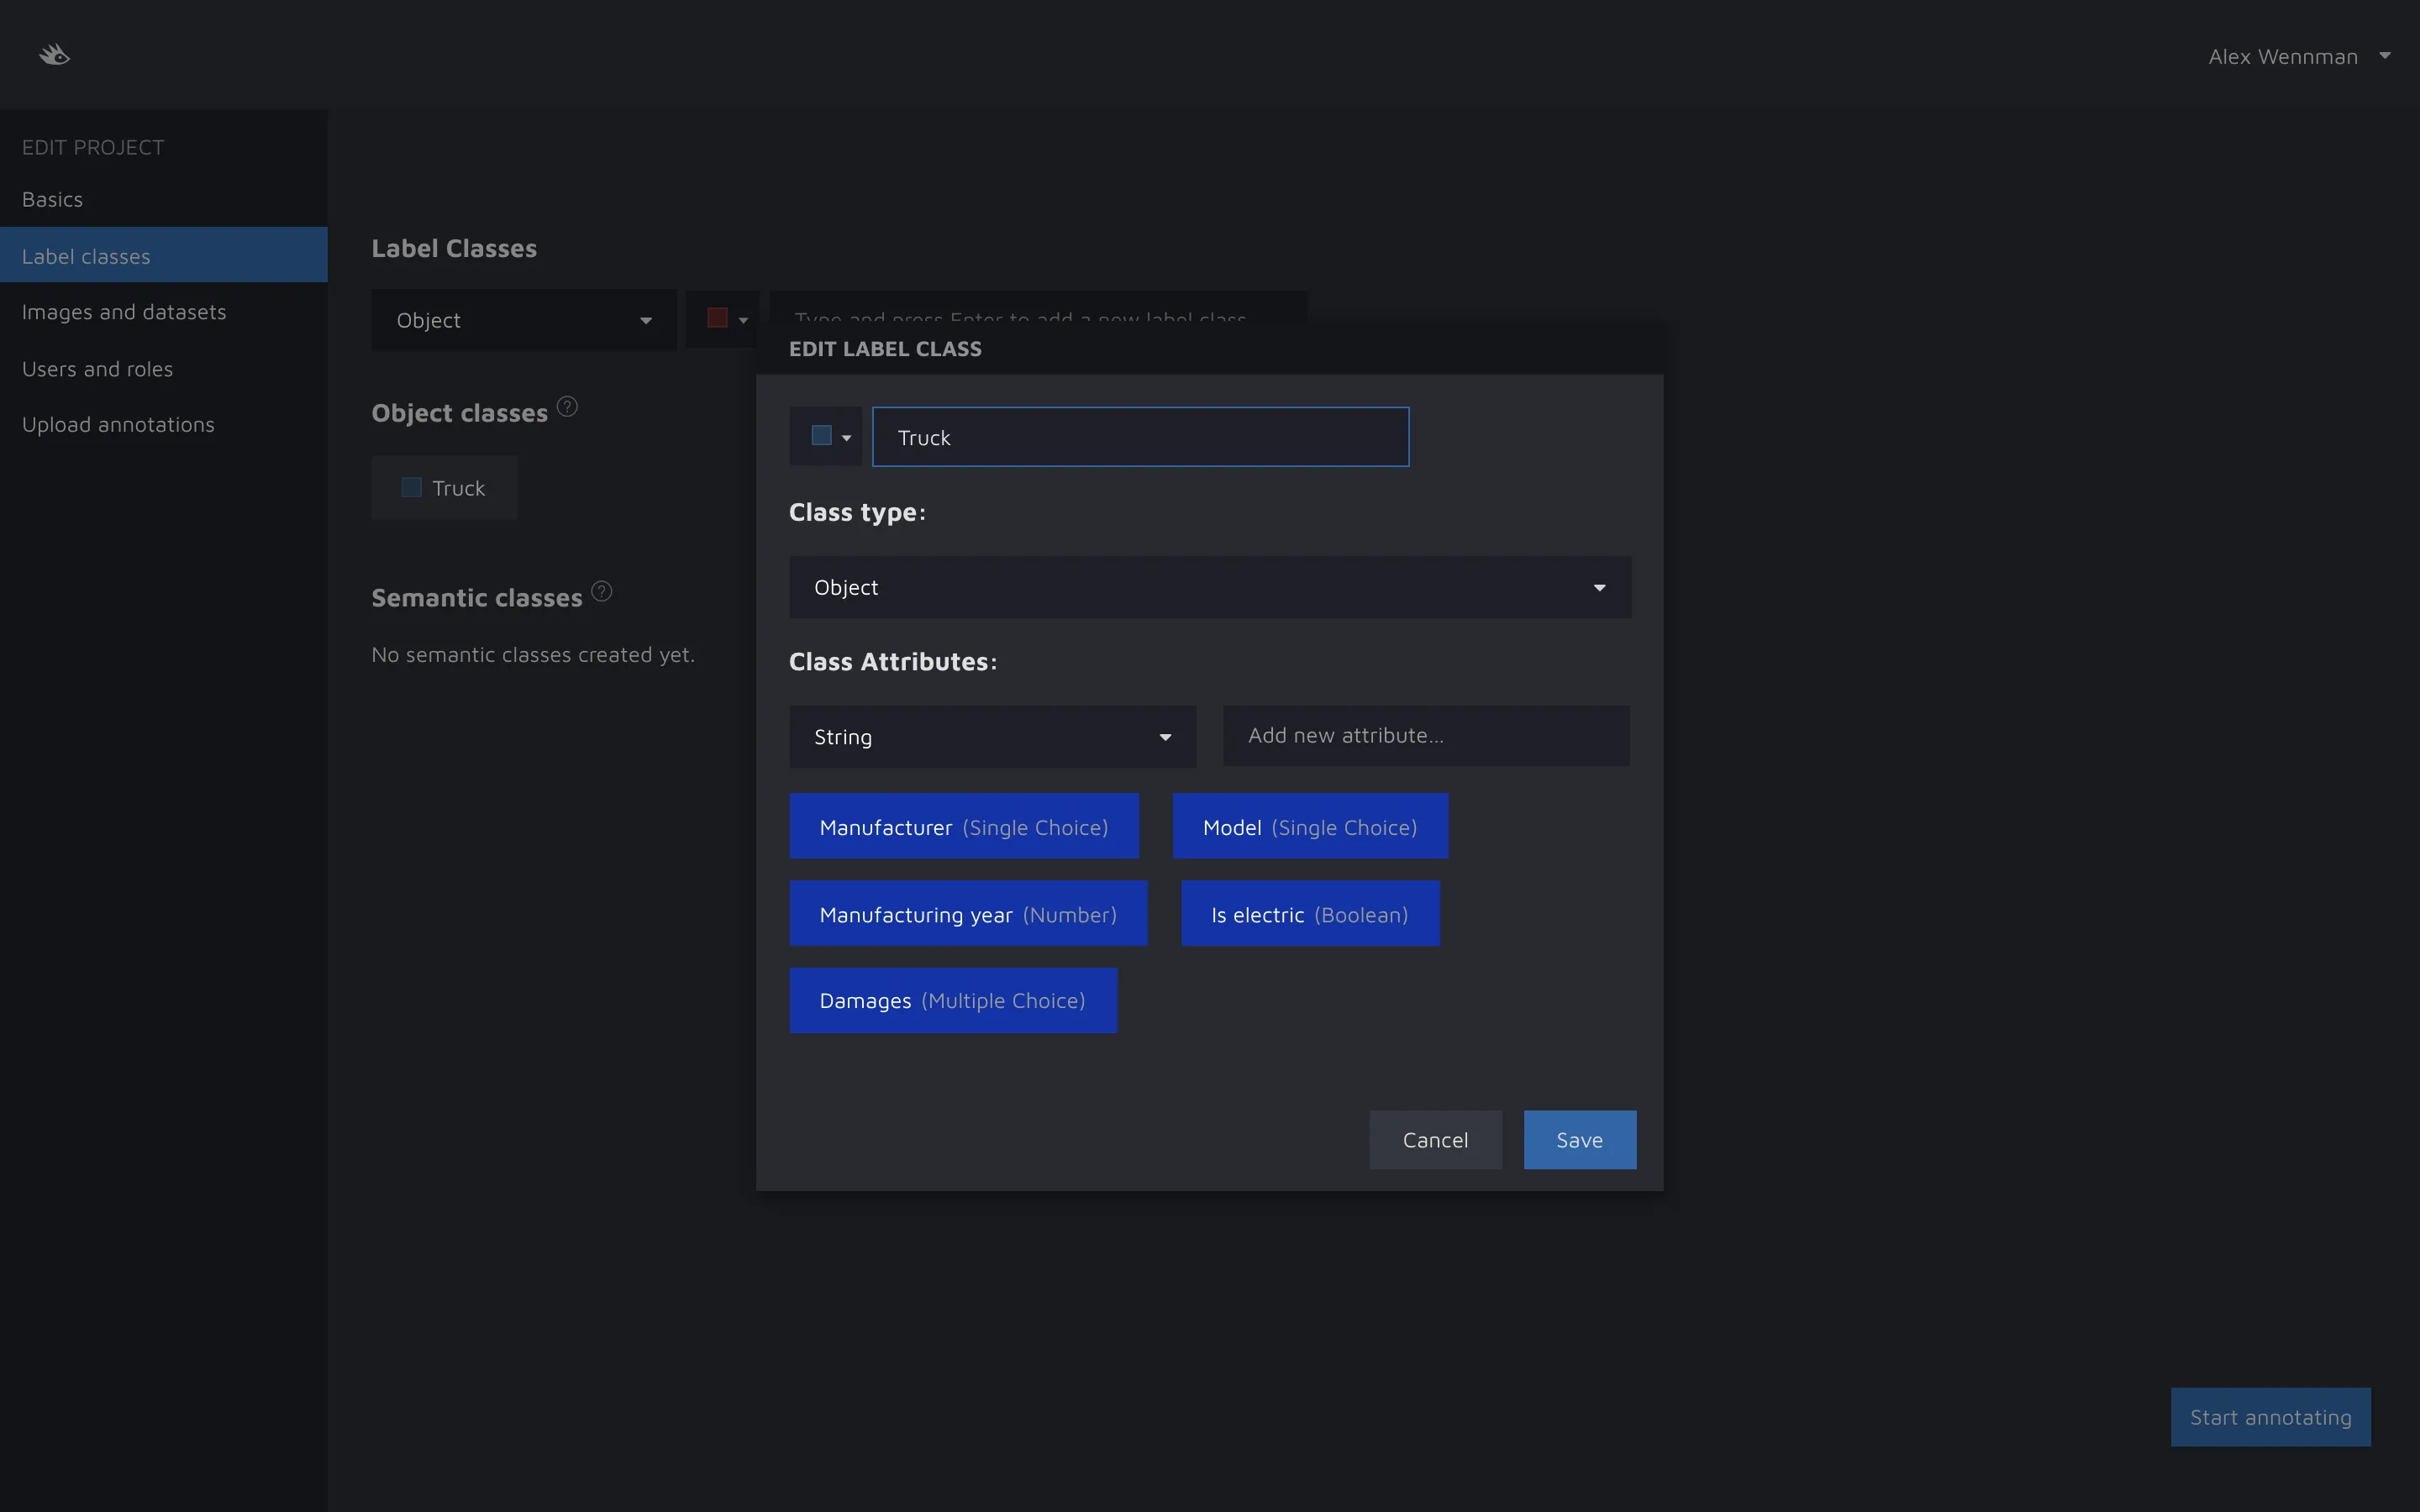
To create a label attribute, edit the project and go to the label classes tab. Then, click on the class you want to add an attribute for. This will open up this modal:

As you can see, there is a dropdown beneath the Label attribute heading. Here you can select which type of attribute you want to create. You can choose from:
- Boolean
- String
- Number
- Integrer
- Single choice
- Multiple choice
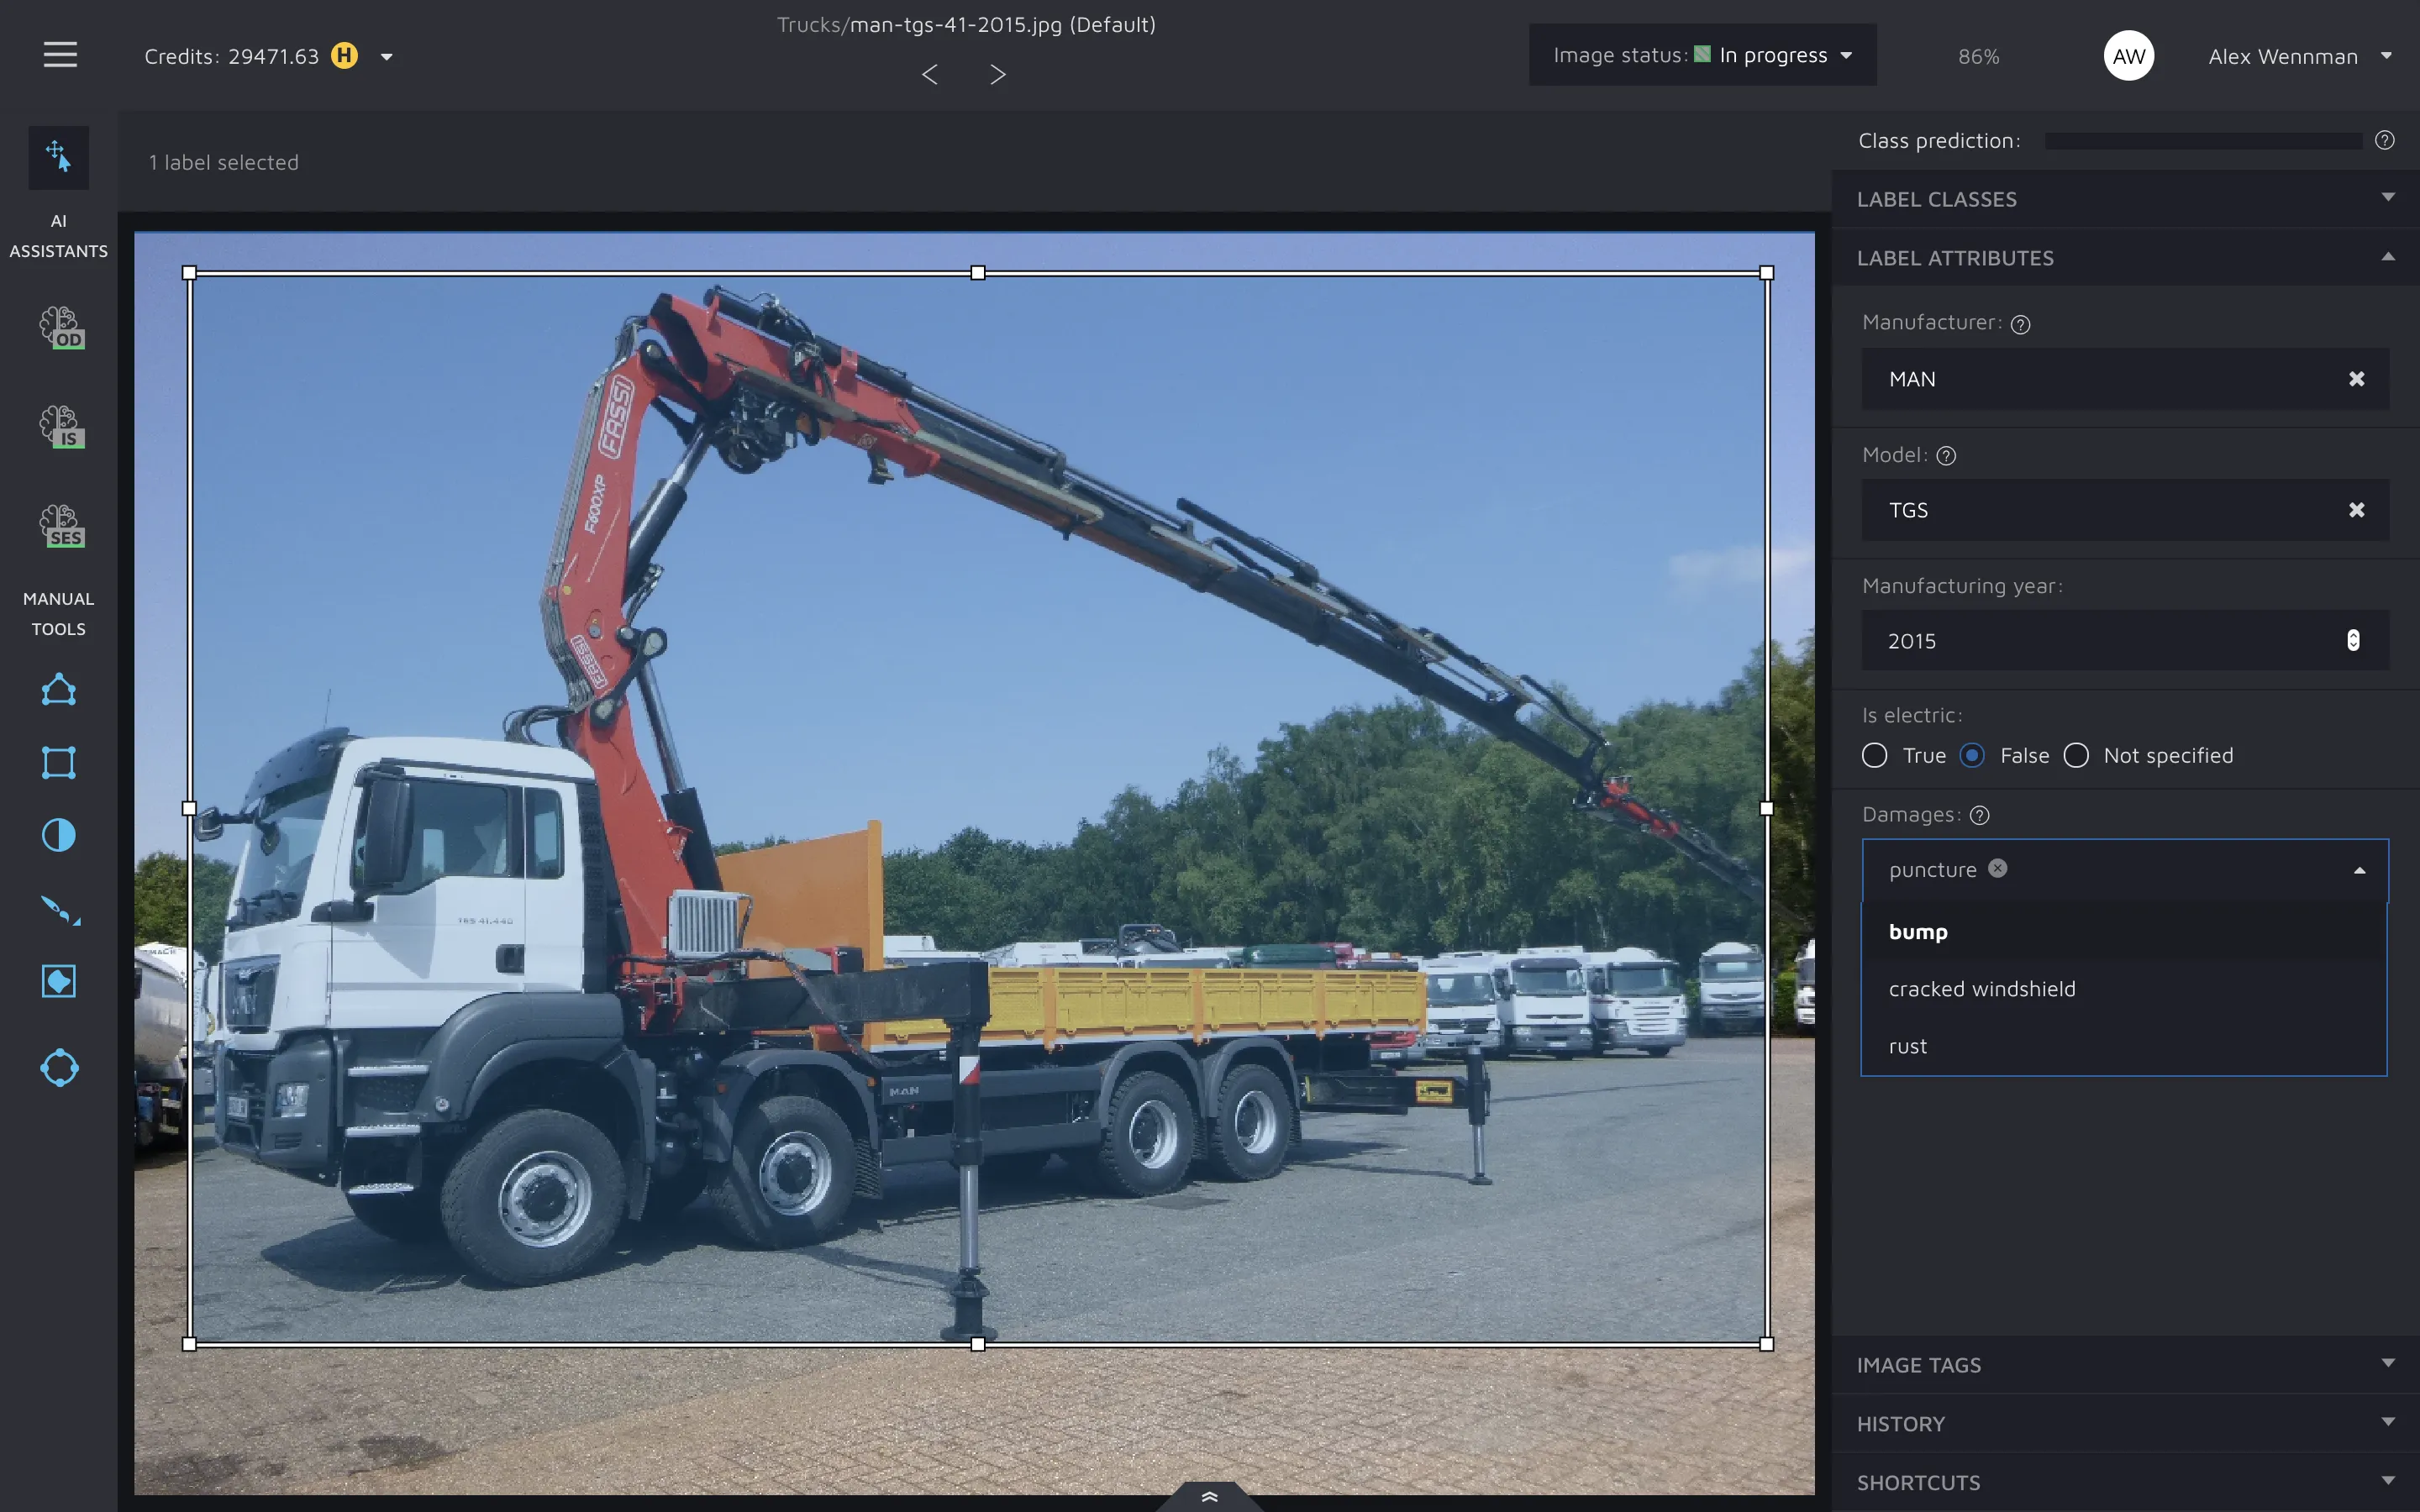
Annotation types impact which type of information a user can input for that attribute, and also how the UI element for that attribute will look like:

Single choice and multiple choice values
If you create annotations of single choice or multiple choice types you need to specify values. These values are needed to populate the dropdown lists both of these types show users:
To add values, click on an attribute while you are in editing mode. As long as the attribute you clicked on is one of these two types, you will have an attribute value input. To add a value, write it in the input field and then press "enter".
Add descriptions
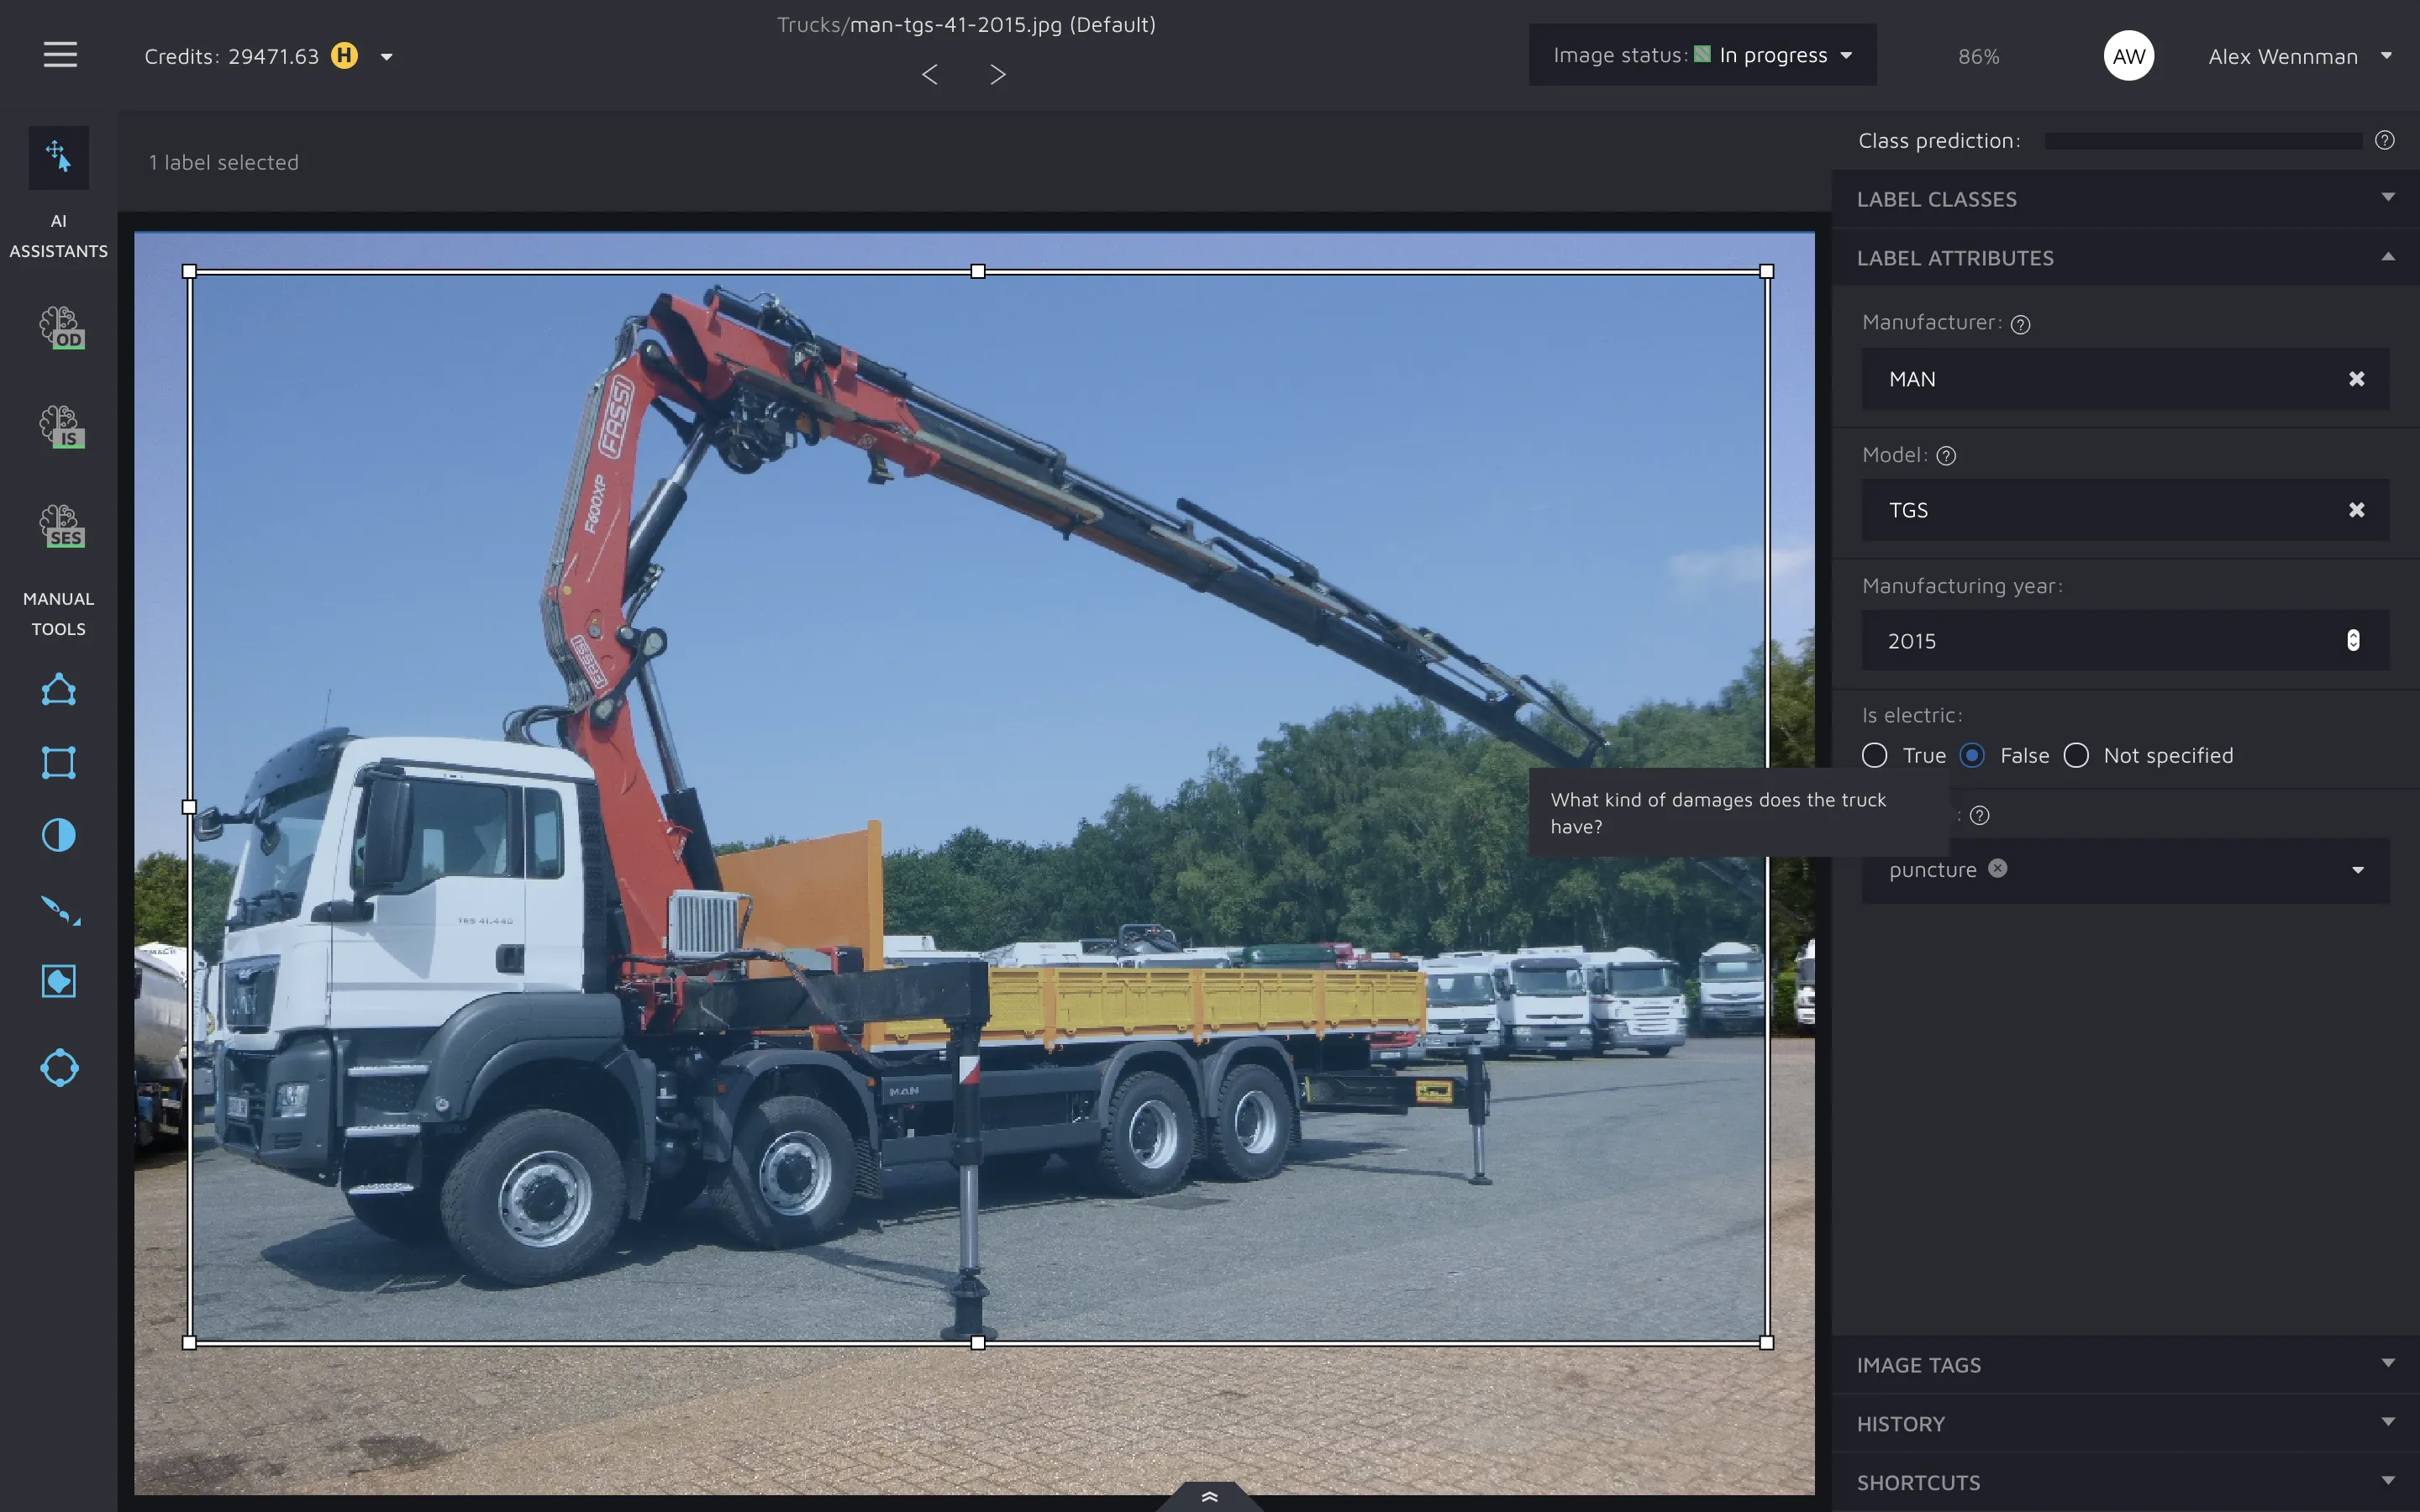
You can also add descriptions to attributes. These will then be shown to annotators when they annotate like so:

To add an attribute, go to the label class tab while editing a project, click on the class and then the attribute you want to add a description to. Now you should see a description input field. Write your description here.
Adding attributes to objects
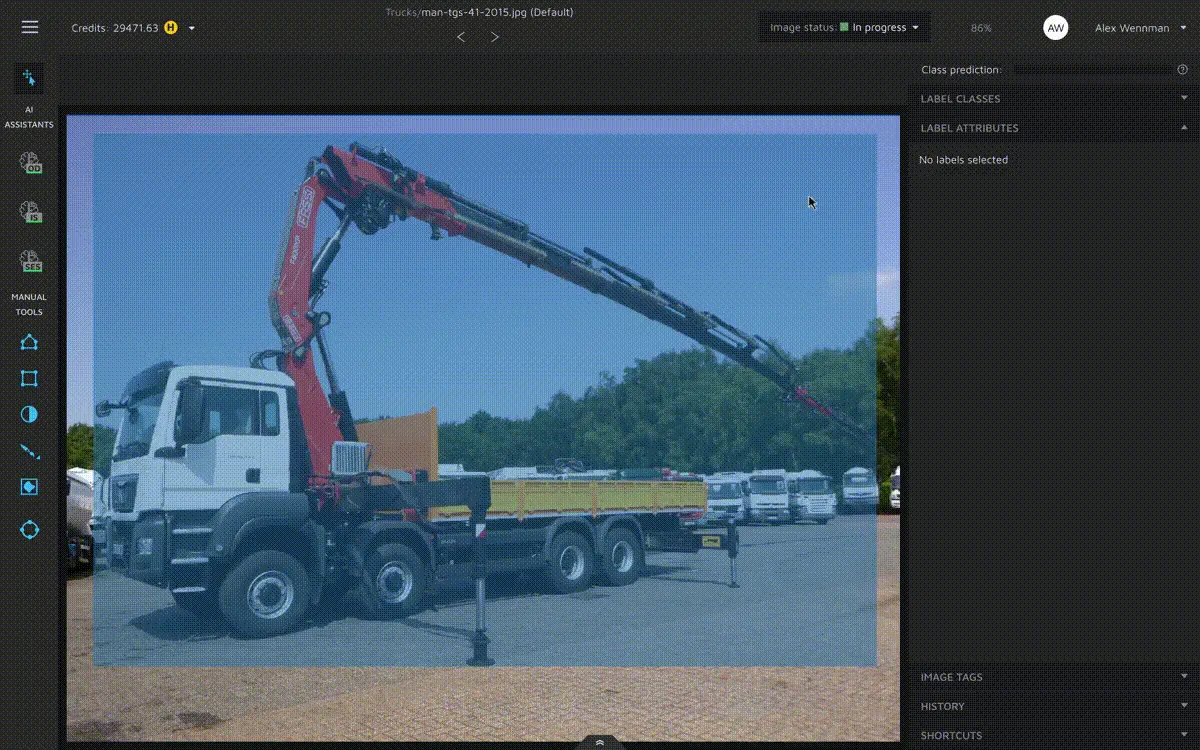
When you are done with setting up your attributes, you can go to the annotation environment. Next, click on the label attributes tab in the right menu. This will open up the label attributes annotation view. Until you have selected an annotation which has a given class which has attributes specified for it, this view will be empty. But when you have selected an annotation with a class for which you set up attributes, all attributes will be shown here.
Now, you can put in whatever data you want for that specific annotation through the different UI elements.

