Introduction to workspaces
Workspaces are spaces that allow you to collect all projects in one place, control access to them on a higher level, and slim down the work needed for administration of your workforce.
You can find all workspaces you have access to at the top of the projects page:
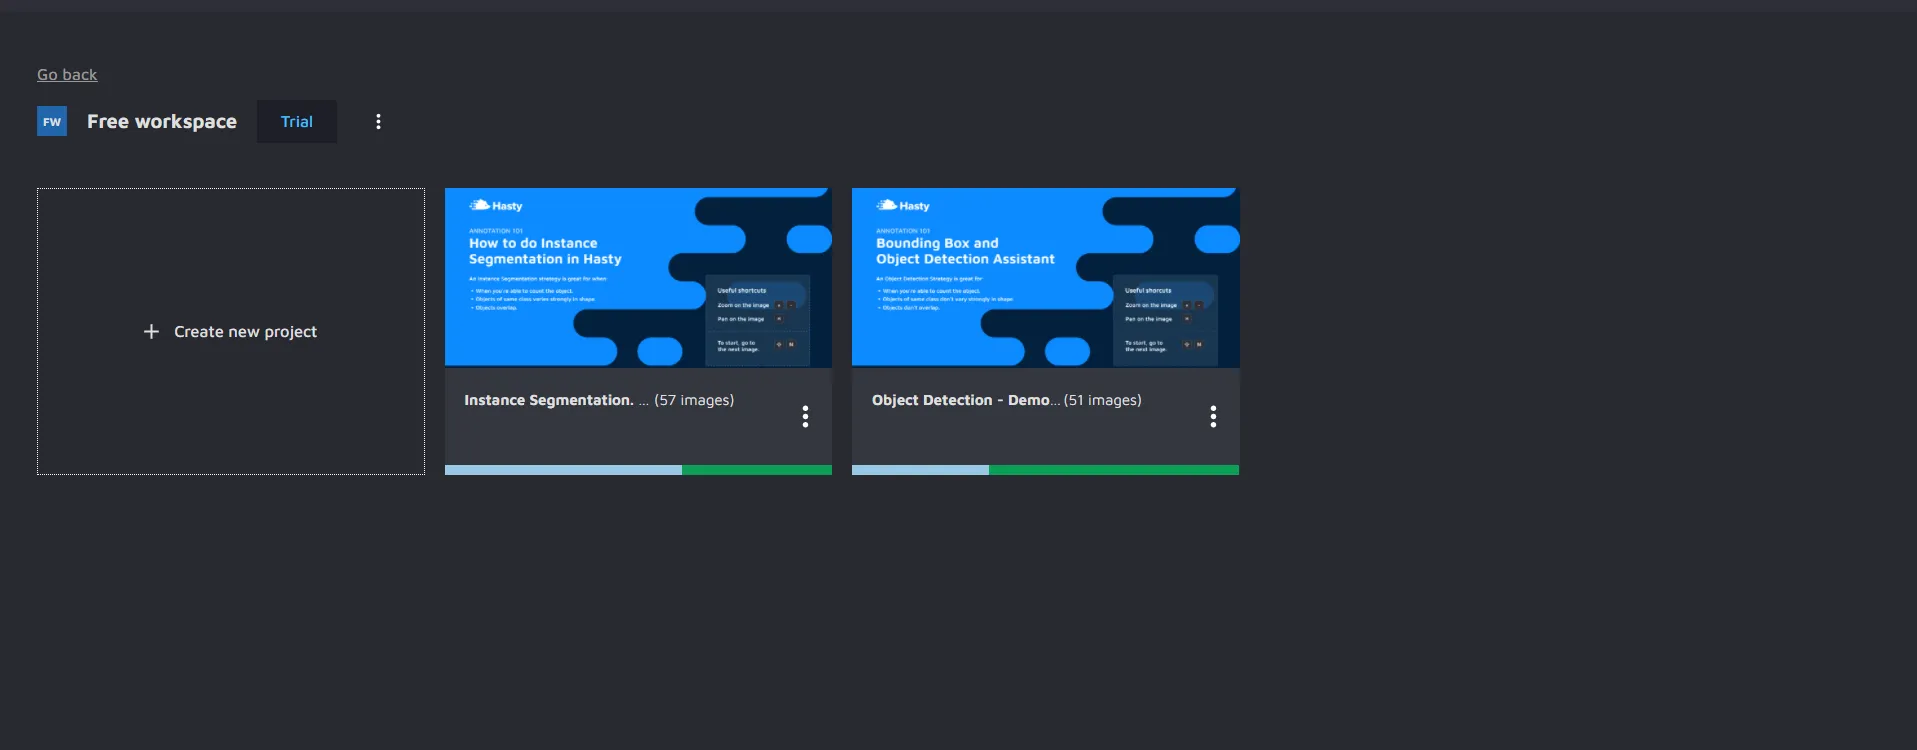
When clicking on a workspace, you will go to the workspace view. Here you can see projects in the workspace, how many credits the workspace currently have, and a description of what the workspace is for.
From here, there are two possible actions. You can either go to a specific project by clicking on it as usual, or go to the "Workspace settings" page by clicking the pen icon next to the workspace name.
Migrating projects to the workspace
To move already existing projects into your new workspace, find the project you want to move on the projects page, click on the three dots and then select "Move to:". This will open up a new context menu where you can then pick which workspace to move your selected project to.
Please note that you can only move projects you are the owner of to a workspace, and that you need to have "create project" privileges for that workspace.
Workspace settings
Payments and plans
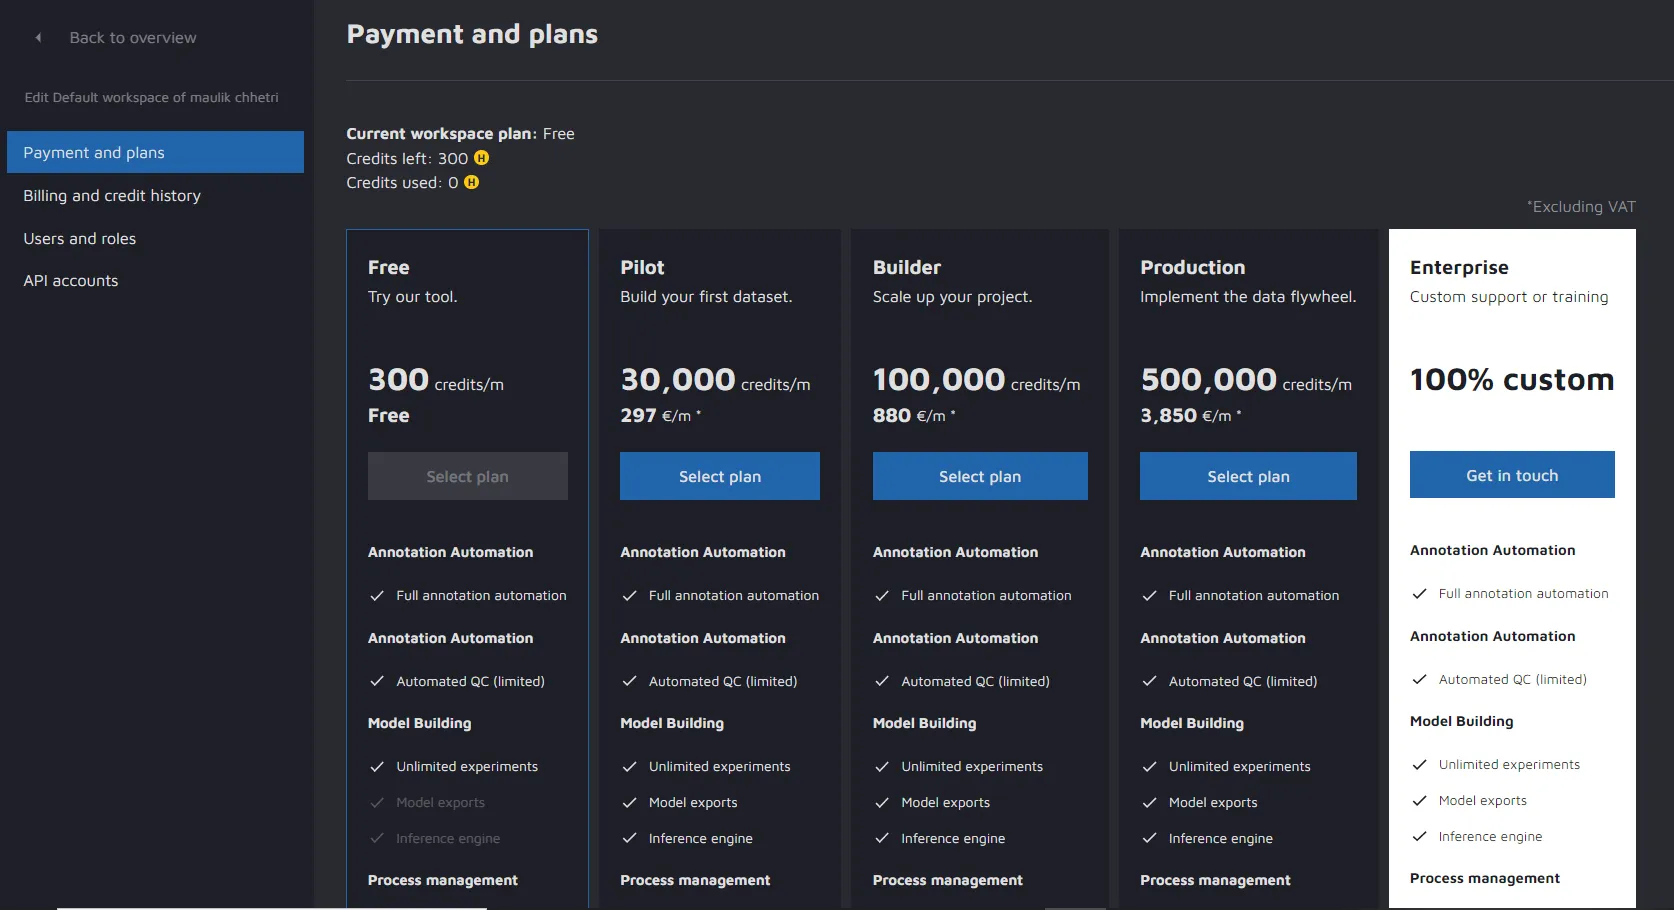
Here you can see your payment plans and handle your payment and billing details (excluded from the screenshot above). There are 5 different categories to choose from according to your needs. The five categories are Free (default), Pilot, Builder, Production, and Enterprise.
If you are unsure of what workspace to pick, check out our pricing page.
You can upgrade or downgrade the plan for your workspace by clicking on any of the available plans at the top. If you are upgrading, you can choose if you want to do so immediately or at the end of the current billing period. If downgrading, it will only happen after the current billing period has passed.
To remove existing cards, hover with your mouse over the card and then an "X" will appear in the top-right corner. Click it to remove the payment method.
To change billing information, click the pen next to "Billing details".
Billing and credit history
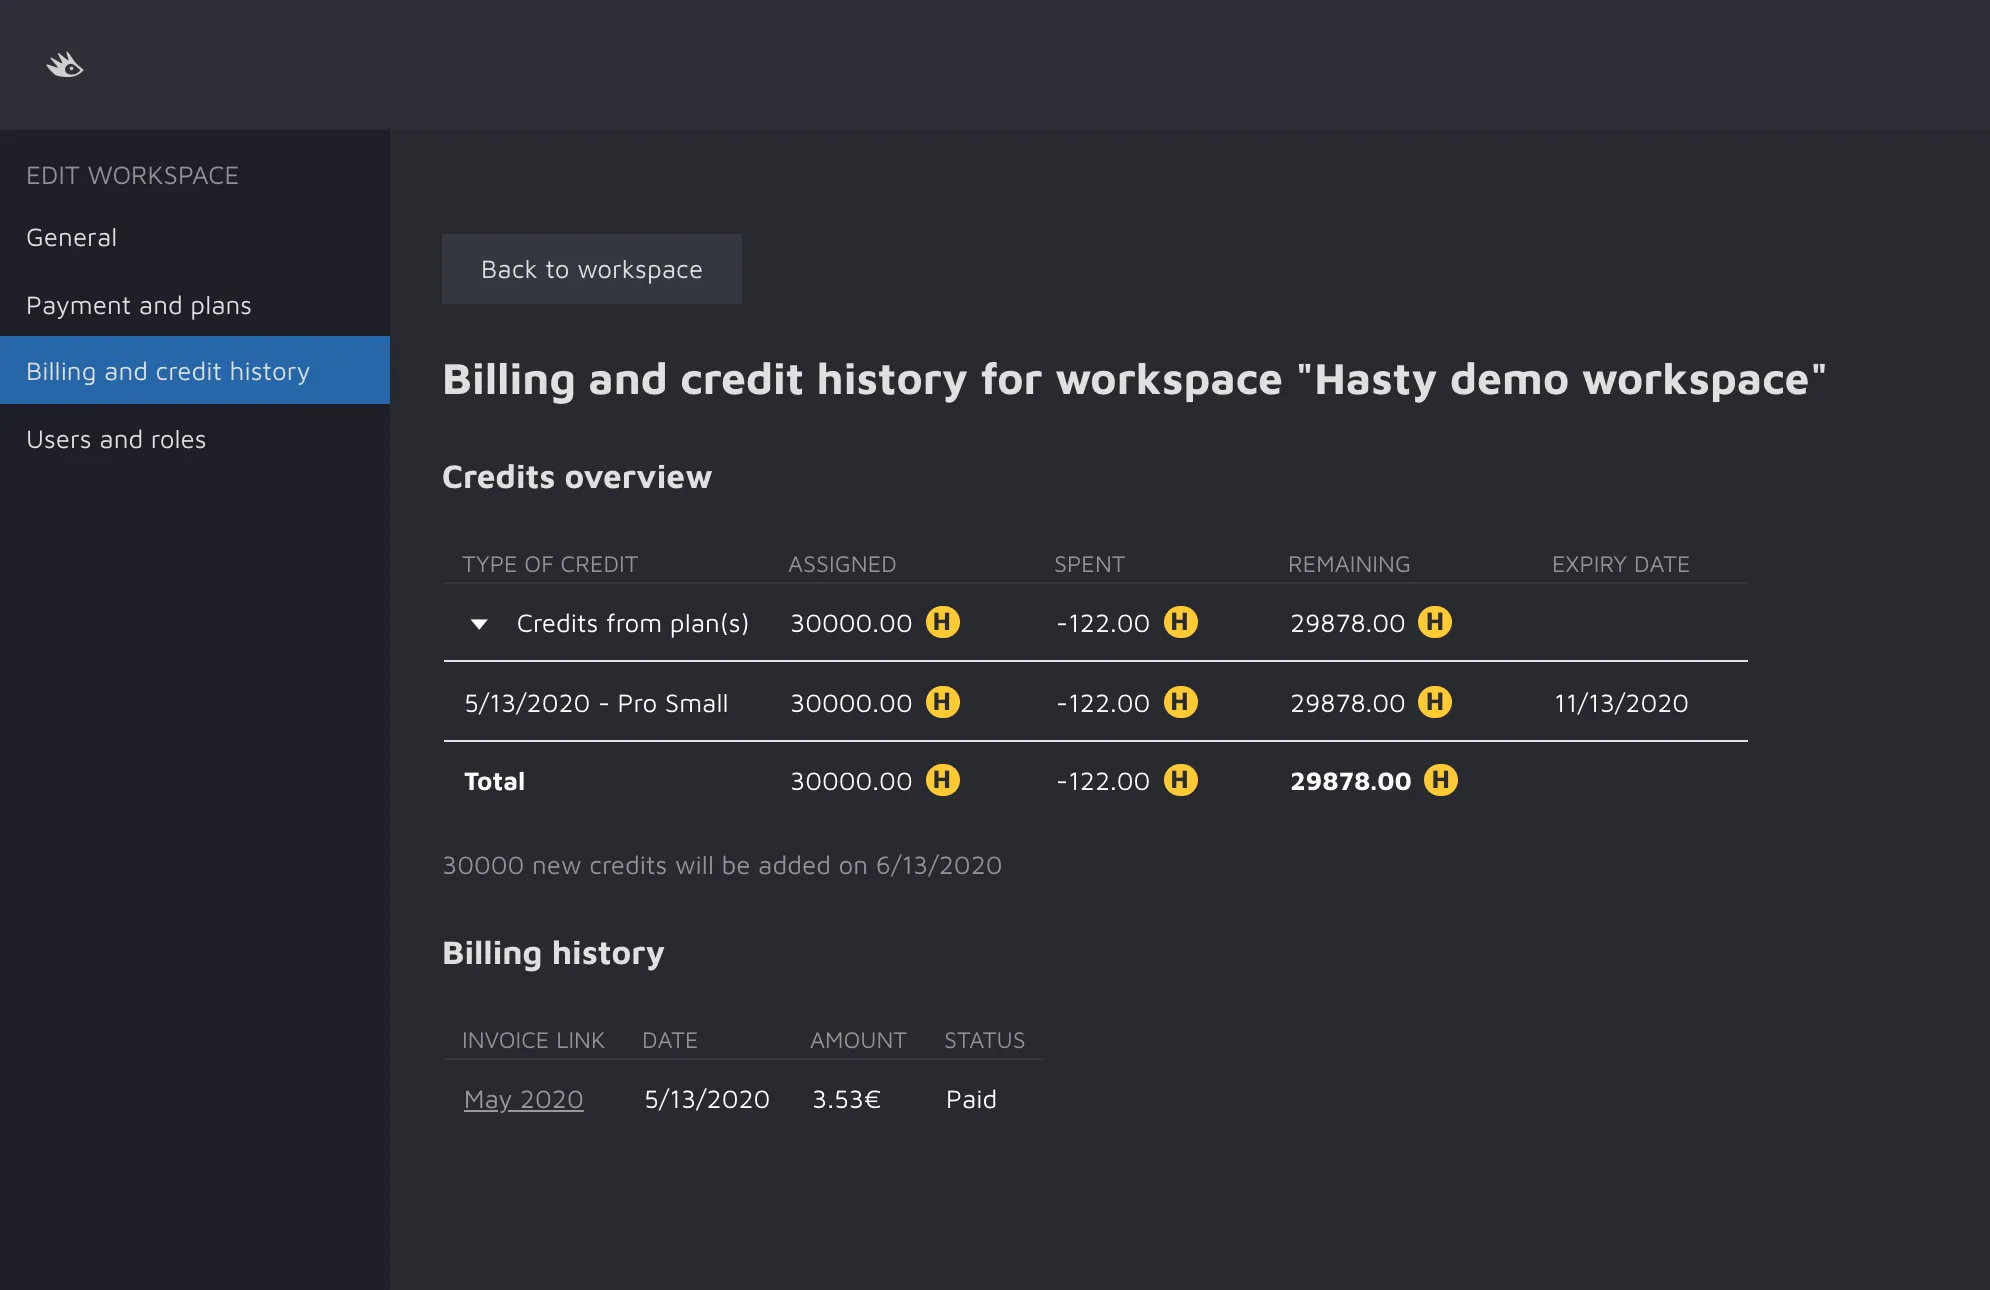
On this screen, you can see the available credits for your workspace. You can also see a breakdown of where those credits come from, as well as how many credits you have spent. You will also be able to see expired credits.
Using this report, you can figure out how many credits you have used over the lifetime of your workspace. We hope that this information will make it easier for you to find the right plan for you.
You can also download invoices for all transactions made to Hasty by clicking on the link for the corresponding transaction underneath "Billing History".
Users and roles
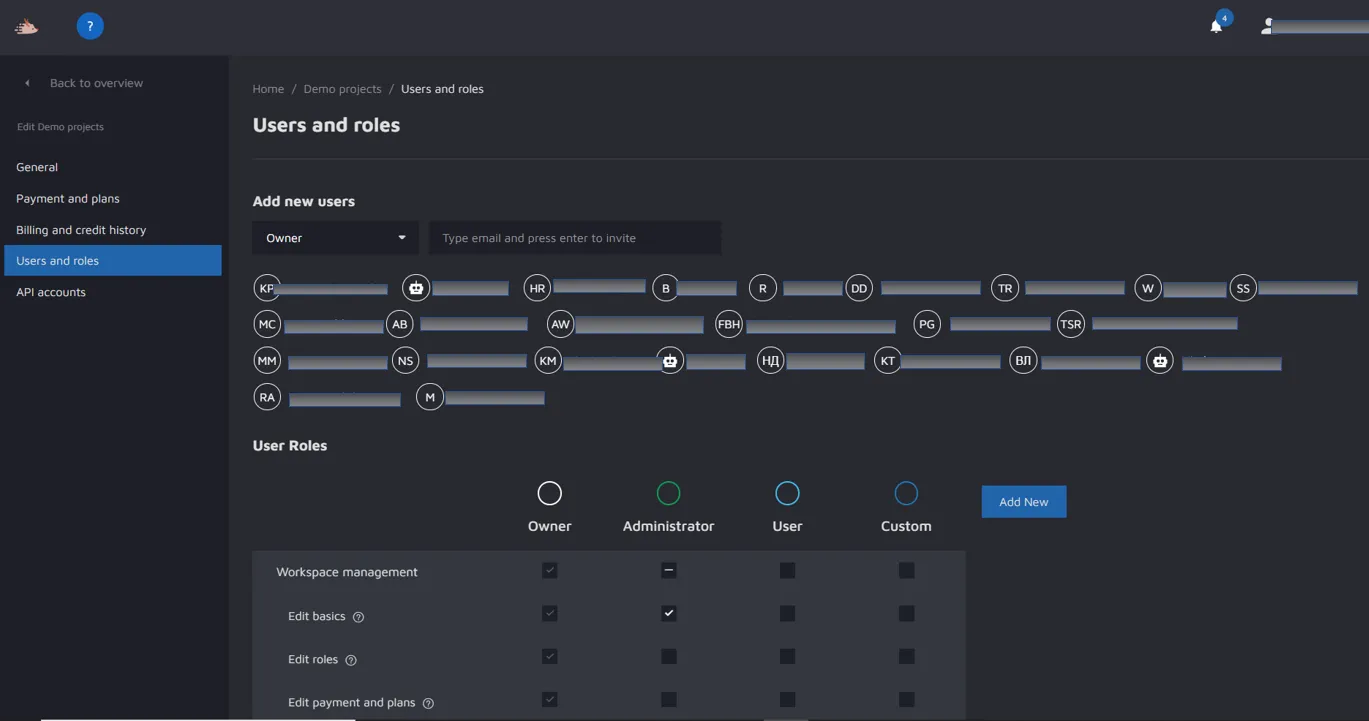
On this screen, you control access to your workspace as well as what those who have access to the workspace can do. It all works in a very similar way to how you set up access and permissions for individual projects, but access and permissions given here are much more powerful than those given for individual projects. That is because some permissions (more on which later) override specific project permissions - so even if you remove a user from "Project A" - that user can still have access to it if he/she has the right permissions in the workspace. Be mindful of that before inviting users.
Our recommendation is to only invite users that will work on the majority of the projects and that you trust here. Then, you can invite other users (3rd party annotation providers, for example) to individual projects instead.
Invite, edit and remove users
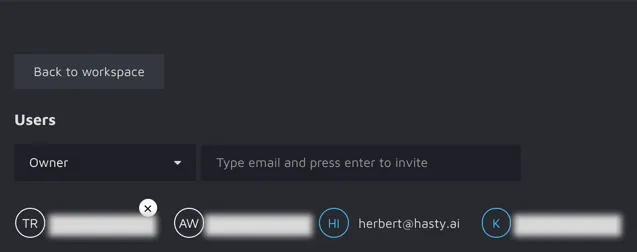
To invite a user, first select a role that you want the user to have (here it is "Owner"). Then, write the email of the person you want to invite in the input field to the right. Press "Enter" and an invite will be sent.
To edit a user, click on the email of the user. This will open a modal where you can adjust the role of any existing user. Sometimes you might not be able to do so - for example if a user has a role with more permissions than you. In these cases, you have to contact someone with the same or higher role than the user you want to edit.
To remove a user, hover over their email. An "X" will appear in the top-right corner. Click on that to remove the user.
Adding, editing and removing roles
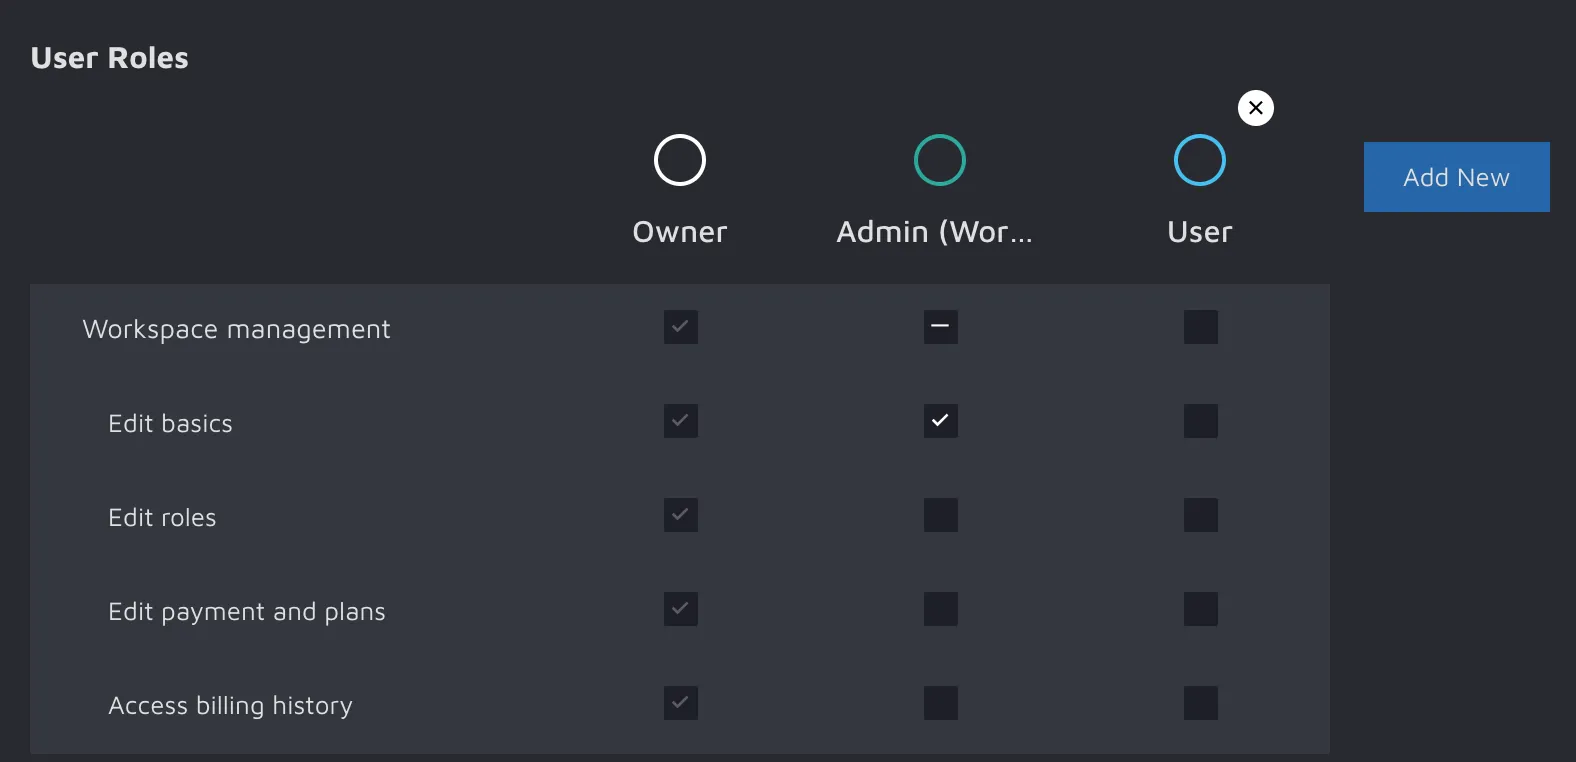
Roles can be added, edited, and removed as you need.
To create a new role, click the "Add new" button. After specifying a name and a color a new role will be generated. The new role will not have any permissions until you have assigned them (more on this later).
To edit a role, click on the name of it. This will open up a modal where you can change the name and color of the role.
To remove a role, hover over it with your mouse. When doing so, an "X" will appear. Click on it to remove the role.
Please note that you can't remove a role that has any users assigned to it. If you want to remove a role where this is true, first change the roles of any affected users or remove the users first.
Workspace permissions
In Hasty, we offer granular role permissions that you can set as needed for your organization. Those permissions are:
Edit basics - Users with this permission can change the name, color, and description of the workspace
Edit roles - Users with this permission can view and change the very roles and permissions this part of the documentation concerns.
Edit payment and plans - Allows users to view and change everything related to payments and billing
Access billing history - Allows users to access the "Billing History" tab
Invite users - Users with this permission can invite others to the workspace (only with the same or lower role)
Access API accounts management- Allows users to manage API access.
Remove users - Users with this permission can remove users from the workspace
Create project - Allows users to create projects in the workspace.
Archive project - Allows users to archive a project in the workspace (all projects can be restored up to 6 months after archiving them after which they are deleted)
Duplicate project - Allows users to duplicate a project in the workspace
Can view all projects - Allows the user to see all projects in a workspace. If the user doesn't have this permission, they can only see the projects they have been invited to.
Can annotate all projects - Users with this permission can annotate all projects
Automated Labelling- Allows users to run automated labeling
Error Finder-Allows users to run Error Finder for all projects in that workspace.
Model Playground- Allows users to use Model Playground in that workspace.
Can administrate all projects - Allows the user full administration privileges for all projects in the workspace
Can supervise all projects - Allow the user to set image status to "done" for all projects
Changing Permissions
To change the permissions for a role, move your mouse over the desired permission, click the box to add/remove, and then click save at the bottom of the page.
API Accounts
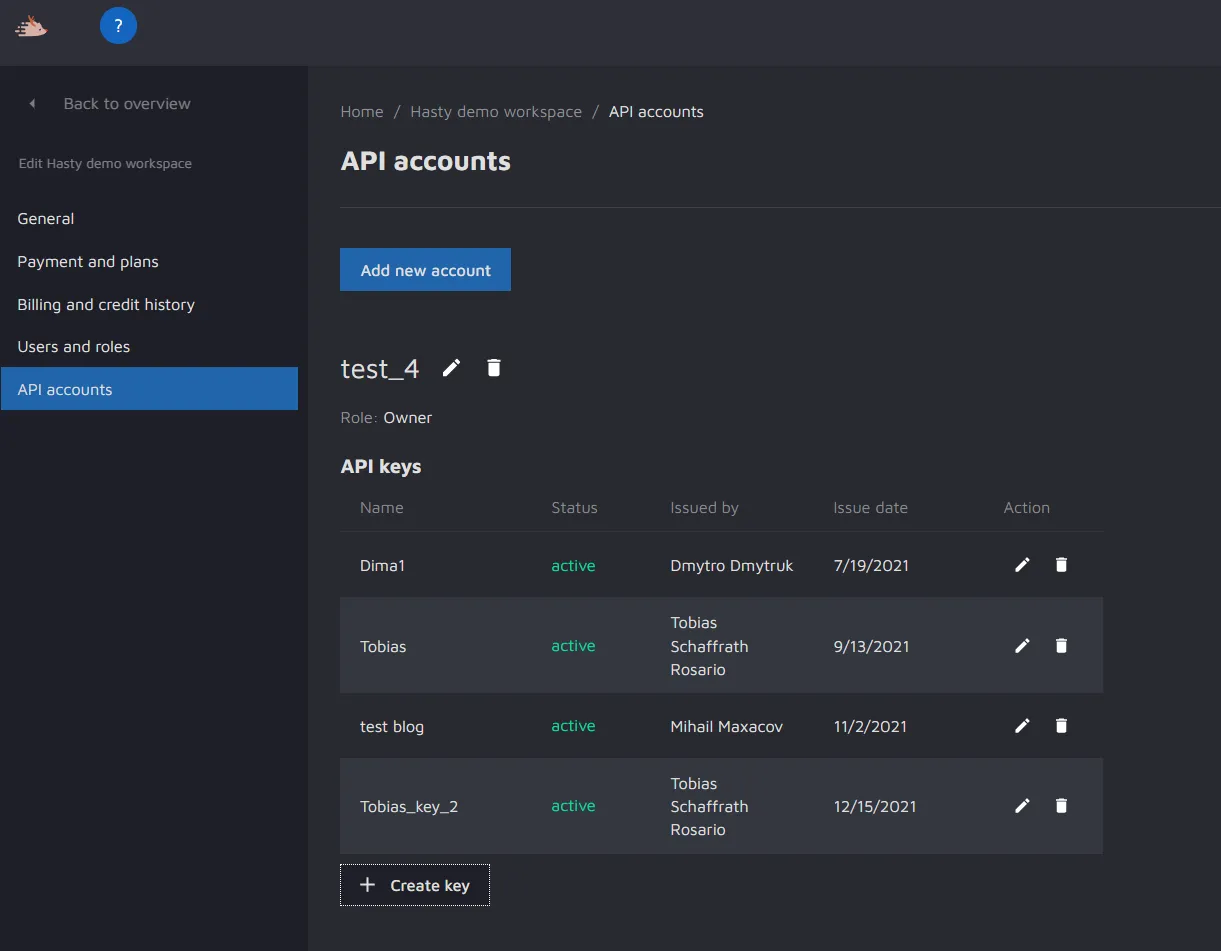
In API accounts users who share that workspace can create an API key to use the Hasty API. To create a key, press the "Create key" button. Then, you will be prompted to name the key and set it to be active or inactive.
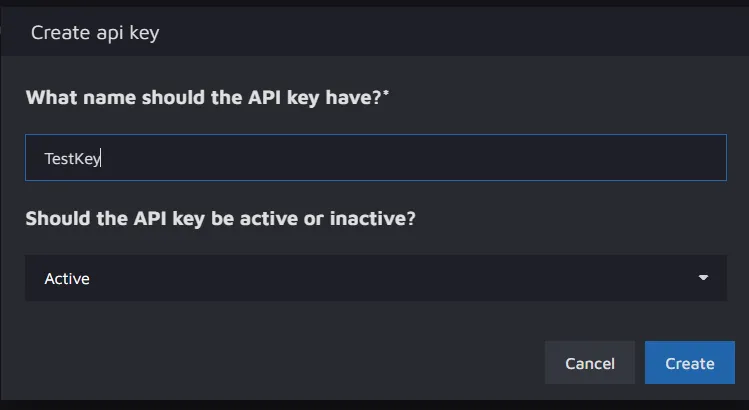
Here, the key has been named "TestKey" and has been set to active. On clicking the "Create" button, you will receive a long alphanumeric text which is the API key.
