Mounting buckets tutorial
In Hasty, we care about your privacy. We want to create an environment that allows you to carry out all the processes – from image annotation to training and inference – within your own infrastructure and without sharing access to vulnerable data. That’s why we created the Mounting Buckets (MB) feature.
Briefly, it allows you to connect your files from external storages with our platform. The best part is that Hasty does not need to store your files: for us, it is enough to use your images' URLs without direct access to their content. This might be important for users who work with highly-sensitive information and want to eliminate any possibility for others to access the content of their images.
How to configure your bucket for external access
To allow cross-origin access to your bucket, you can apply Cross-Origin Resource Sharing (CORS) rules to it. CORS is a mechanism that allows servers to share restricted resources with other domains by specifying trusted sources (origins).
Configuring a CORS rule for AWS S3
- Sign in to the AWS Management Console;
- Open the Amazon S3 console;
- Choose your bucket;
- Click on the Permissions tab;
- Press Edit in the Cross-origin resource sharing panel;
- Open the text box and write the JSON CORS rule you want to apply:
Do not forget to press Save.
Check out the instruction from the AWS if you want to learn more.
Configuring a CORS rule for GCS
1. Create a JSON file with the CORS configuration you want to apply.
An example of CORS configuration:
2. Use the gsutil cors command to apply the configuration to a bucket:
Where:
CORSCONFIGFILEis the path to the JSON file you created in Step 1;BUCKET_NAMEis the name of the bucket you want to provide access to.
Visit Google Cloud Storage’s instruction page for more details.
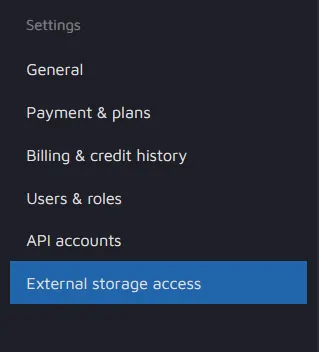
How to use the Mounting Buckets feature in Hasty
1. Please go to your project’s Workspace and click on the External storage access button to add a new bucket first. Otherwise, you will have no buckets to get your images from.
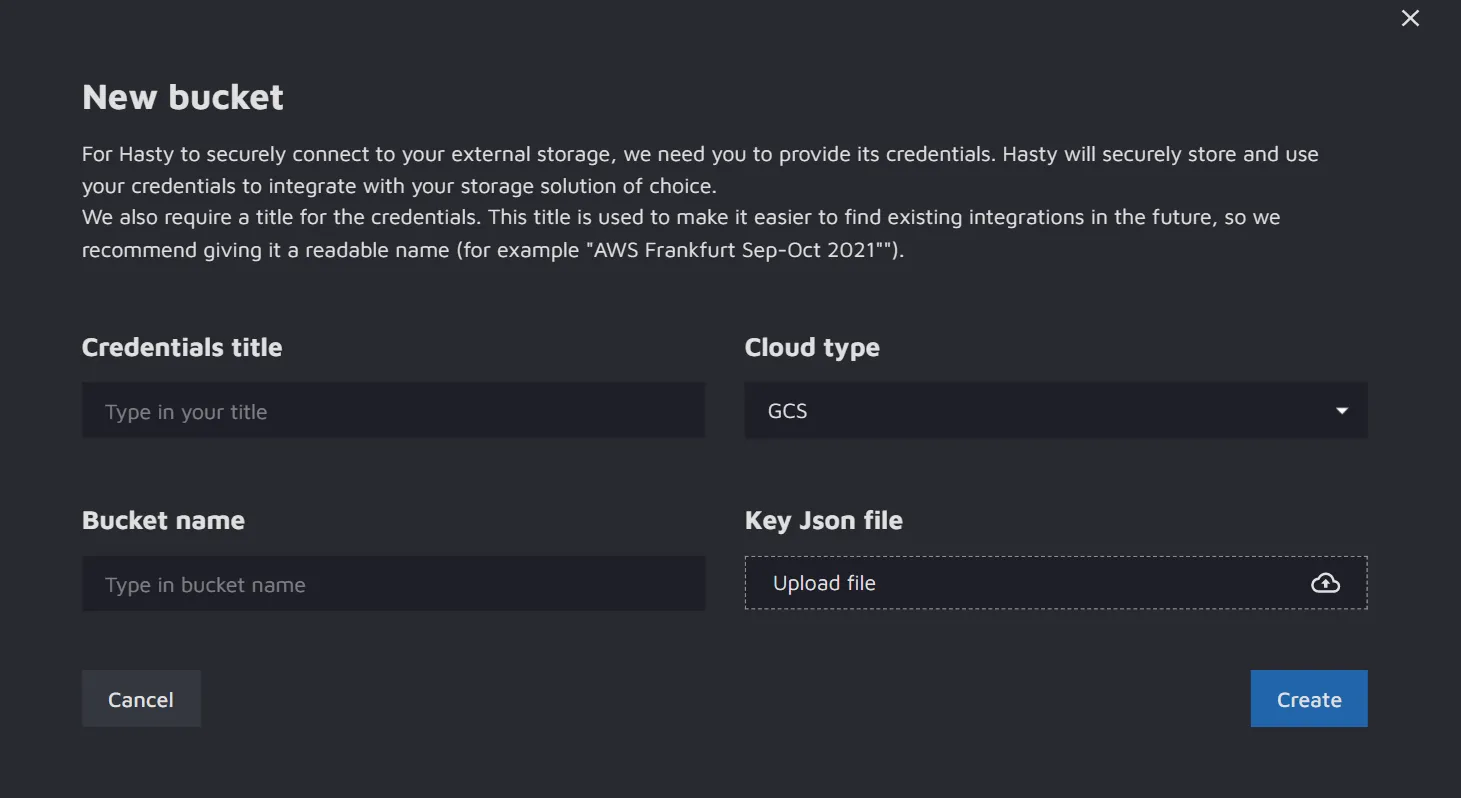
2. Press the “Add new bucket” button. Fill in the credentials title and the cloud type. Depending on the cloud storage type, you will need to fill in different fields:
- For Amazon Web Services S3 (AWS S3): provide a role ARN.
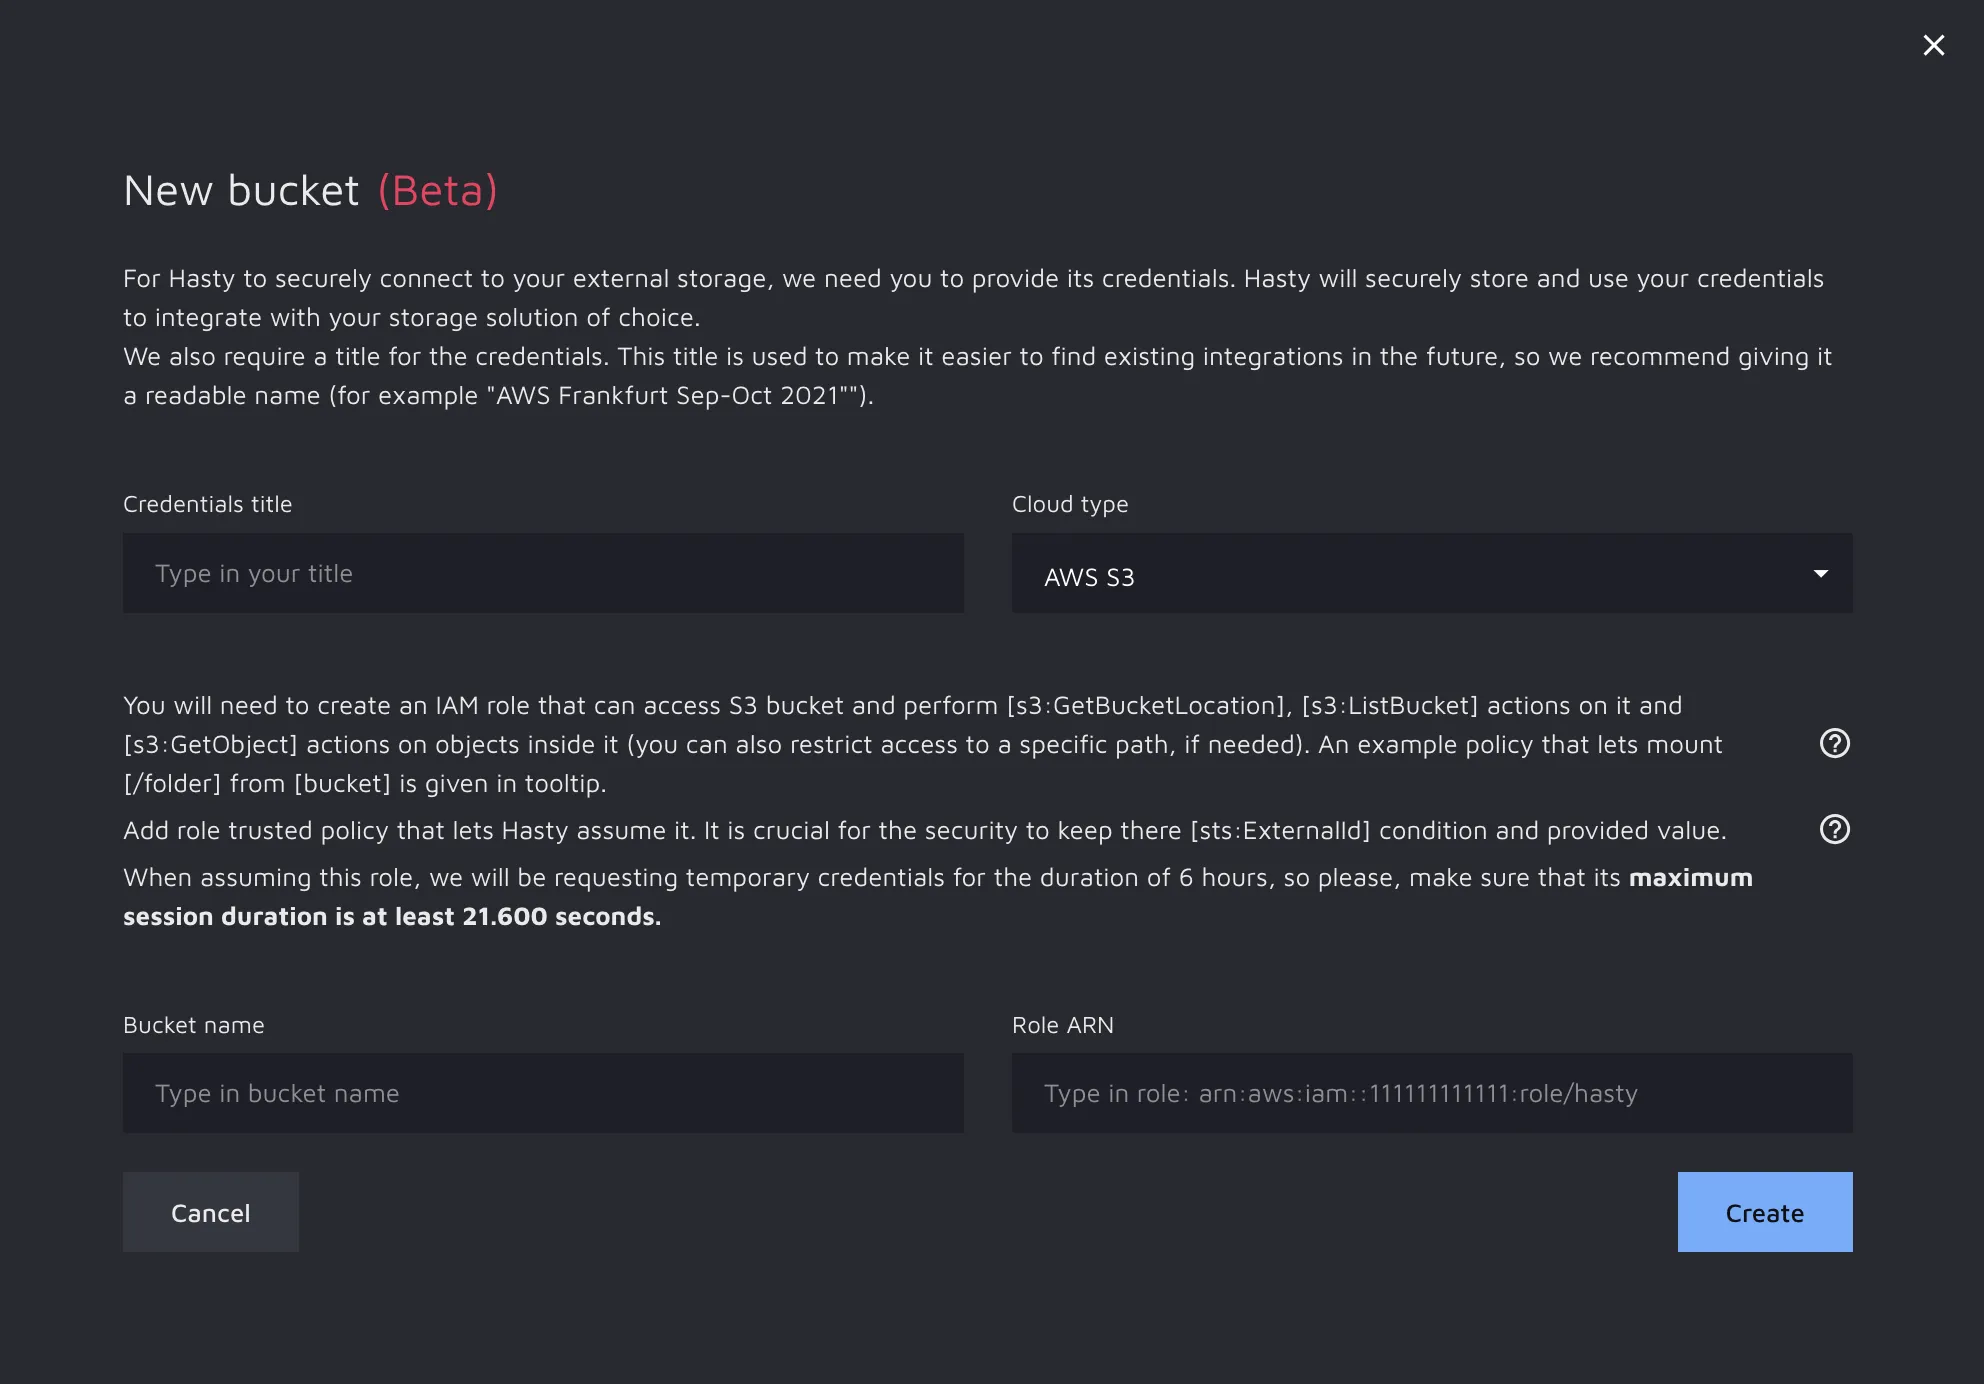
To access AWS S3, Hasty needs you to create an IAM role for it with permissions to access storage and perform actions on it and actions on the objects inside the storage. If you have a multi-layer folder structure, you can restrict access to specific paths if needed.
An example policy that allows mounting a specific folder from a particular bucket is provided in the platform's tooltip and below.
Step 2 is using the role trusted policy that lets Hasty assume it. For security reasons, it is crucial to keep the ExternalId provided value.
An example assuming policy is provided in the platform's tooltip and below.
- For Google Cloud Storage (GCS): provide the Key JSON file.
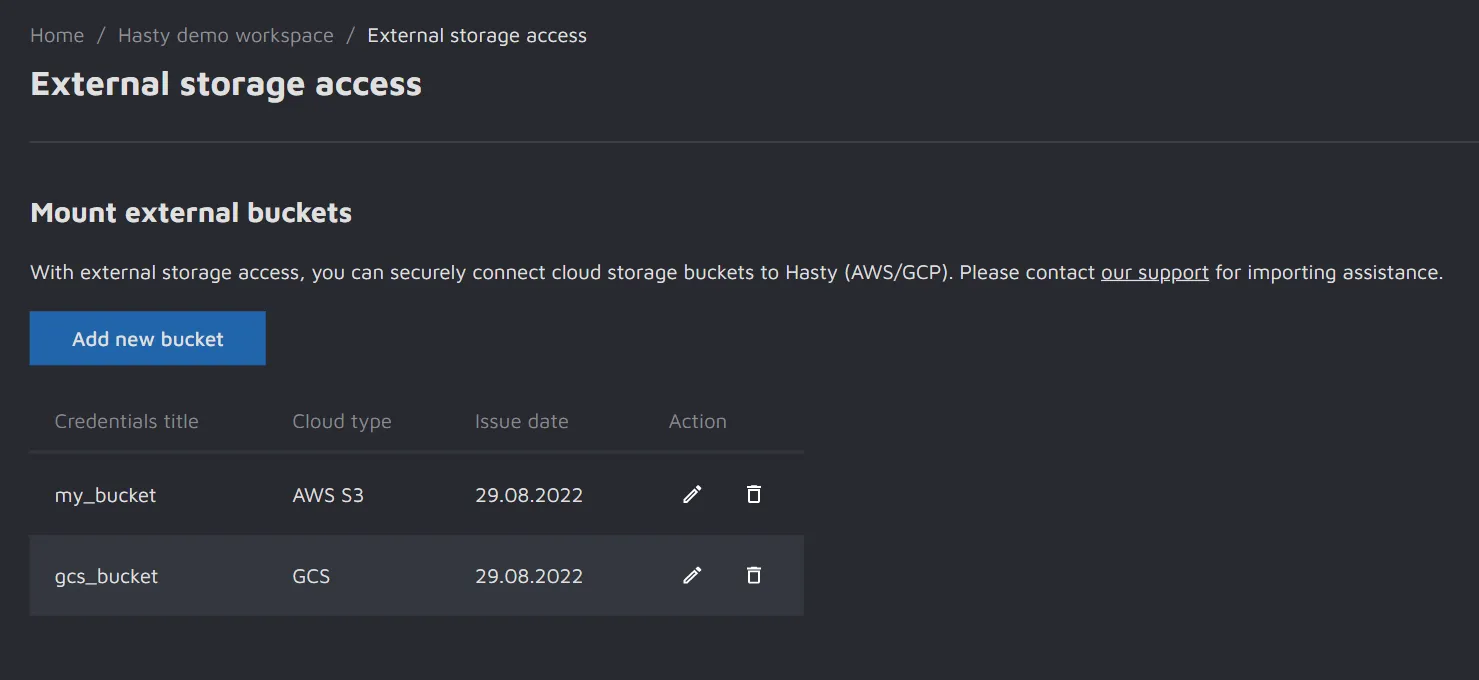
After filling in the bucket credentials, you can access and review them.
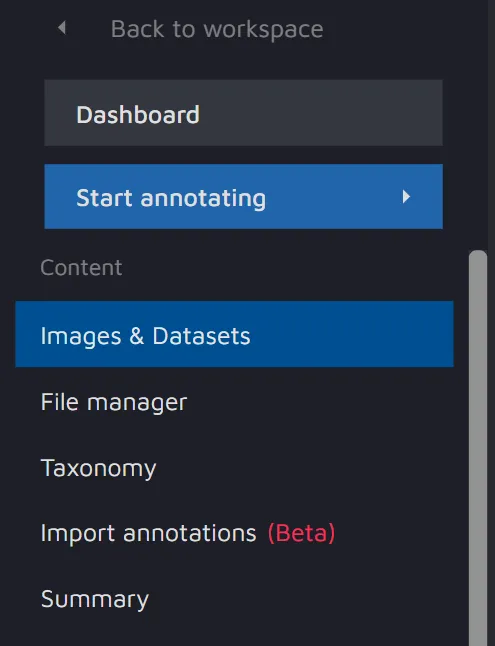
3. Go back to your project and click the Images & Datasets tab on the left menu.
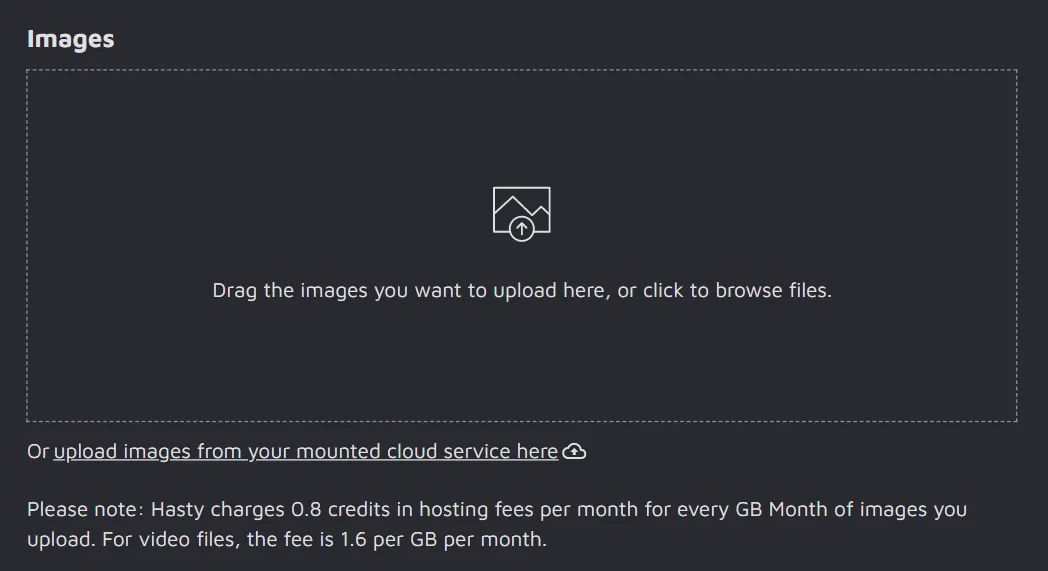
4. Choose the dataset you want the images to be imported into.
5. You should see a small caption under the standard images uploading bar. Click on it to upload the images.
You will have to:
- Choose the credentials of the bucket you want to import your images from;
- Select the files for an import job: to do so, specify the path or the prefix of the files;
- Choose whether to copy files to Hasty or not.
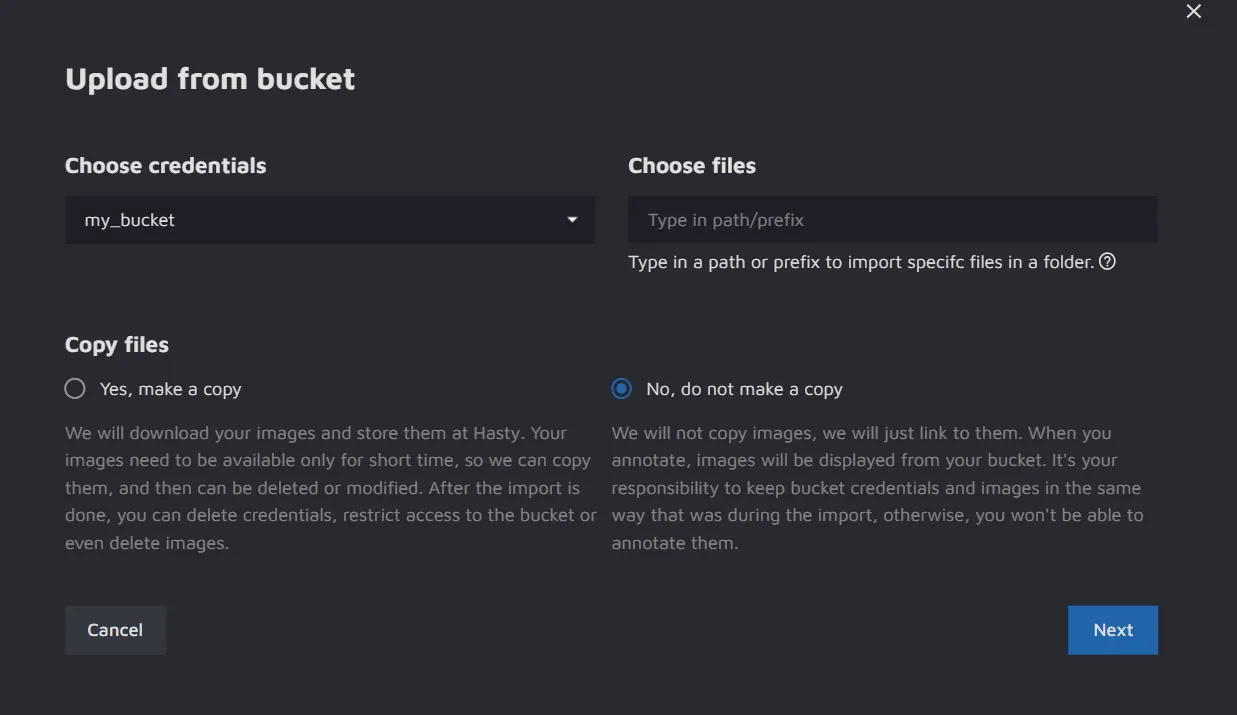
The difference between these approaches is the following:
- If you choose to make a copy, Hasty will get access to your images for a short time to fetch them for your project. After the images are copied, you can delete credentials, restrict access to your bucket, or even delete the images. The manipulations with the images in your external storage will not affect your Hasty annotation process since their copies will be already imported.
- If you choose not to make a copy, Hasty will only use links to your images without copying the files themselves to our storage. If access to an image from your dataset is required, Hasty will ask permission to download it. This way, you can be sure that your images will never leave your storage.
You can create a dataset using both the Mounting buckets feature and standard image importing.
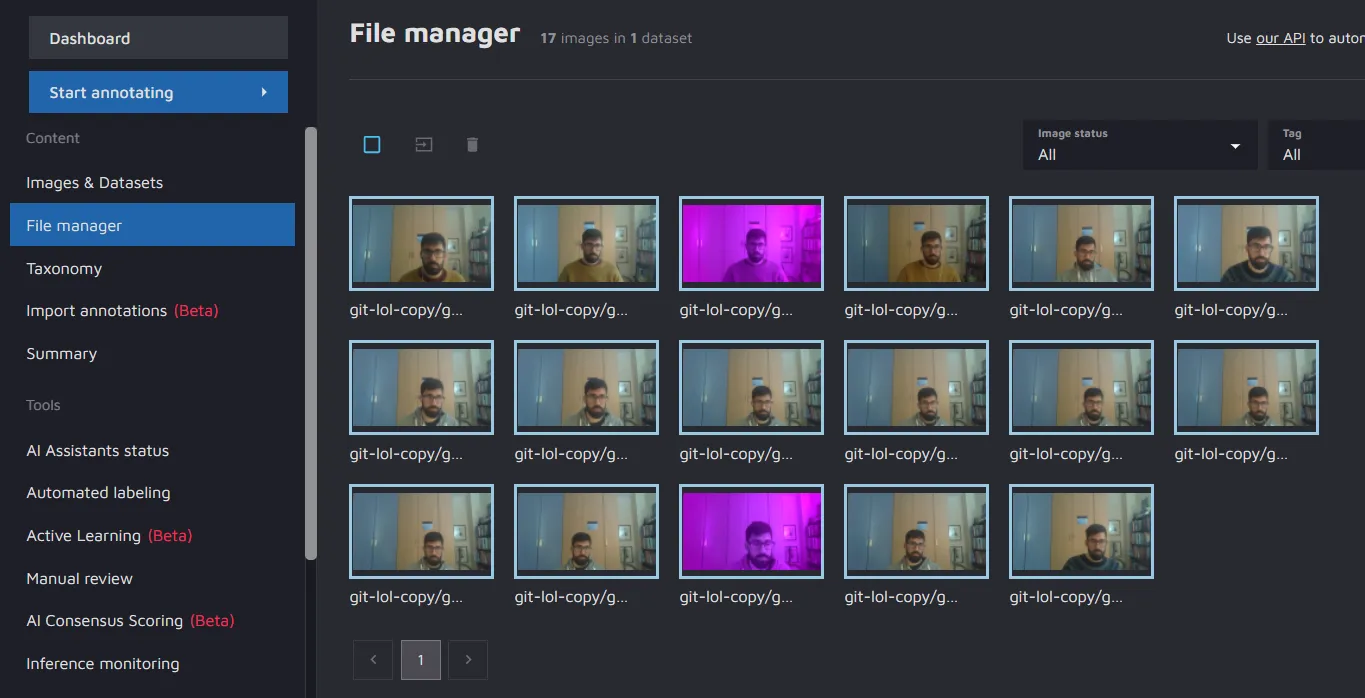
5. Once the images are uploaded, you can view them in the File manager in the menu on the left.
Congratulations, you have managed to import your data using the Mounting buckets!