Gaussian Noise
If you have ever worked on a Computer Vision project, you might know that using augmentations to diversify the dataset is the best practice. On this page, we will:
- Сover the Gaussian Noise augmentation;
- Check out its parameters;
- See how Gaussian Noise affects an image;
- And check out how to work with Gaussian Noise using Python through the Albumentations library.
Let’s jump in!
Gaussian Noise augmentation explained
To understand what Gaussian Noise is, let’s first observe the concept of noise in digital images.
Noise usually stands for a random variation in the brightness or color of the image. In the case of digital images, noise can be produced due to different reasons:
- The image sensor is broken or affected by external factors;
- Lack of light or overheating of the device at the moment of taking a photo;
- Interference of the transmission channel, and so on.
The noise might be added or multiplied to the image. Here is the formula for the Additive Noise Model, where:
- x and y are the coordinates of the pixel to which the noise is applied;
- s(x, y) is the intensity of the original image;
- n(x, y) is the noise added to the original image;
- w(x,y) is the distorted image received after the noise is applied.

Source
Likewise, the Multiplicative Noise Model multiplies the original signal by the noise signal.
Gaussian Noise is a statistical noise with a Gaussian (normal) distribution. It means that the noise values are distributed in a normal Gaussian way.
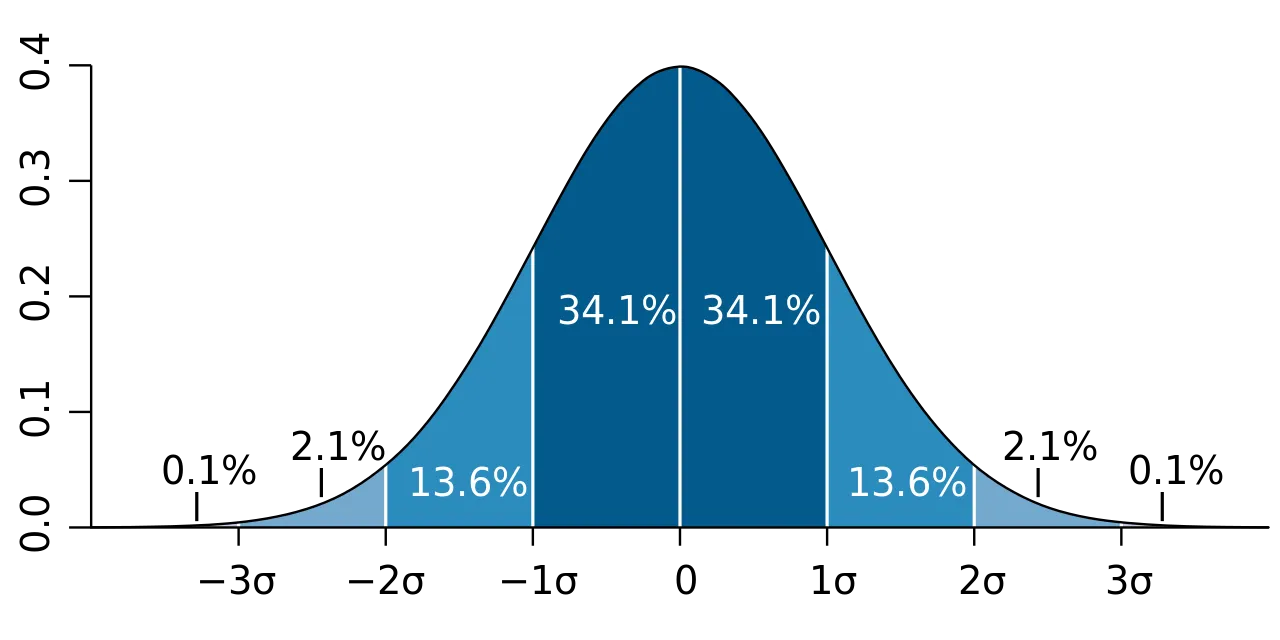
The Gaussian noise is added to the original image. The probability density function p of a Gaussian random variable z is calculated by the following formula:

Source
- where z represents the grey level;
- u - the mean value;
- and sigma - the standard deviation.
The Gaussian Noise data augmentation tool adds Gaussian noise to the training images to make the model robust against such noises.
Gaussian Noise augmentation parameters
- Variance limit - sets the variance range of the noise. The higher the values in the range, the noisier the image will be. The specified numbers must fall between [0.0, 65025.0];
- Mean - sets the mean of the noise. The higher the mean value, the brighter the image will be. The specified value must fall between [0.0, 255.0];
- Probability of applying transform - sets the probability of the augmentation being applied to an image. If you want to apply Gaussian Noise to all images, select a probability of 1.
Gaussian Noise augmentation visualized
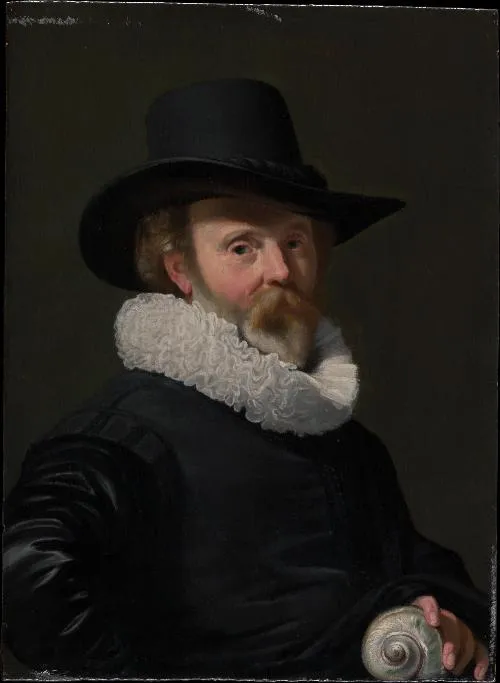
Mean = 0
Variance limit = [0, 0]
Source

Mean = 240 (out of 255)
Variance limit = [0, 0]
Source
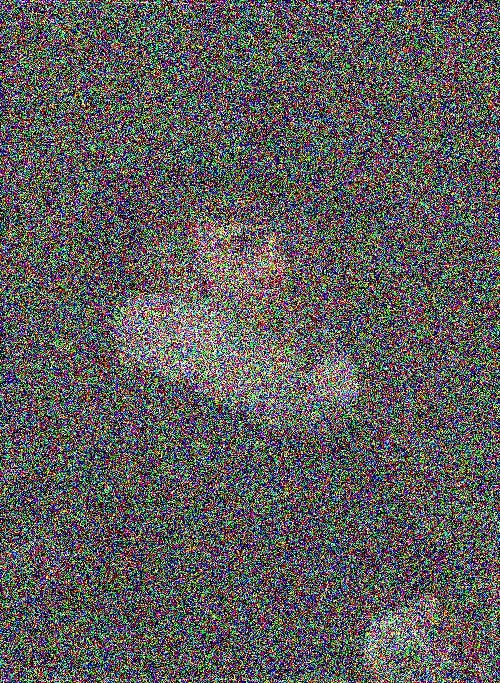
Mean = 0
Variance limit = [65025, 65025]
Source
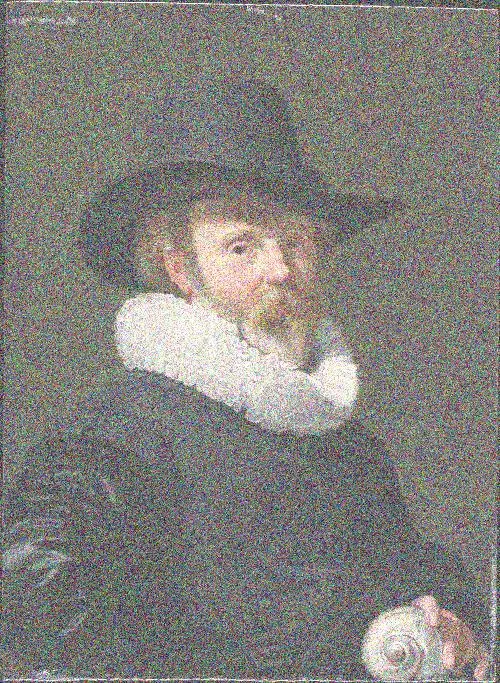
Mean = 100
Variance limit = [1000, 10000]
Source
Gaussian Noise in Real-Life
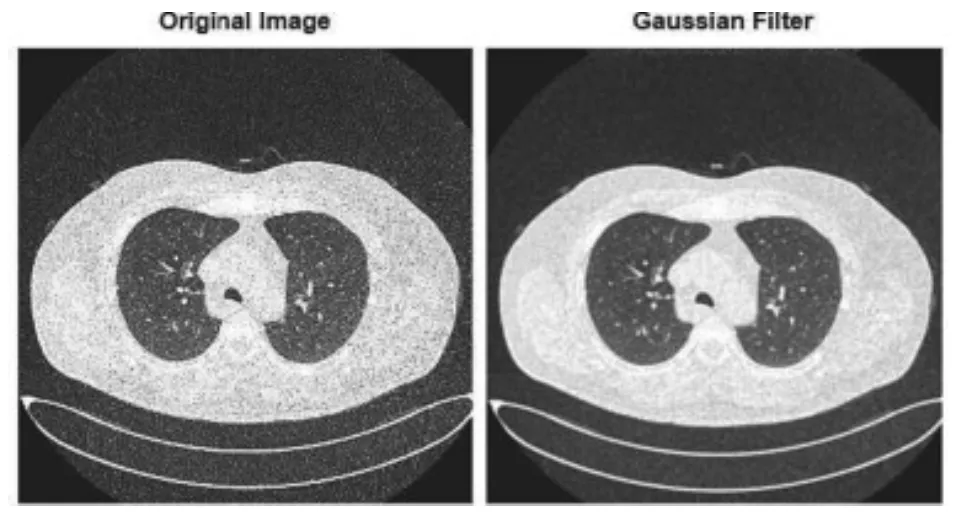
Modern AI solutions frequently apply Gaussian Noise augmentation in medical image analysis, especially in MRI and CT scan segmentation. Introducing noise during training helps models adapt to variations caused by different scanner types and acquisition settings. This improves generalization across diverse datasets, leading to more reliable diagnostic tools.
Source
Take a lung nodule detection system trained only on clean images. It may struggle when faced with real-world scans that naturally contain acquisition noise. A similar issue arises when training when test datasets come from scanners with different settings. Adding Gaussian Noise acts as a form of "averaging," helping the model focus on essential features despite noise. This enhances model accuracy across varied datasets.
The effectiveness of this approach isn't just theoretical. A recent study published in Artificial Intelligence Review demonstrated that augmentation methods, including Gaussian noise addition, significantly improved the accuracy of tumor segmentation and classification algorithms.
The practical value of noise augmentation is further validated through competitive benchmarks like the Ultrasound Nerve Segmentation Challenge and UW-Madison GI Tract Image Segmentation competition on Kaggle, where top-performing solutions frequently employ noise augmentation strategies.
